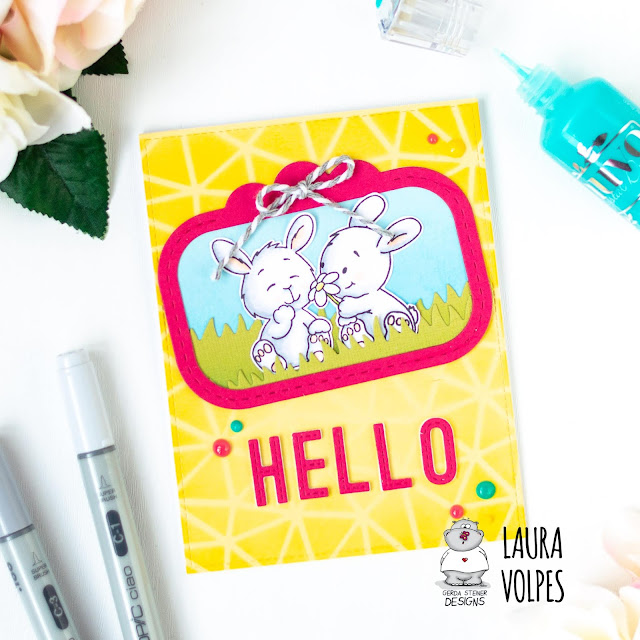
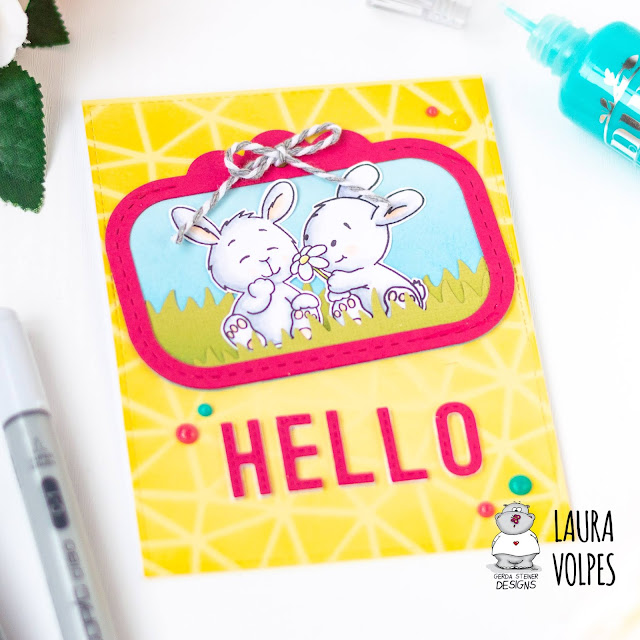
Hi everyone! It's Laura here, with a bright and colorful card featuring the new Bunny Friends stamp set and a video tutorial showing how you can create it!
I started by stamping the bunnies with black yybrid ink on Neenah Solar White 110lb cardstock. I colored the images with Copic markers and fussy cut the with my EK Success Cutterbee scissors.
I created the background on some yellow Bazzil cardstock. I die cut it with a stitched A2 rectangle die and added some detail with Distress Oxide in Mustard Seed and a stencil.
I then die cut some light blue Bazzil cardstock using the a tag die and added some shading to it with Distress Oxide in Salty Ocean and my Ranger Blending Brushes.
I created two grassy borders by combining that same tag die with some grassy border dies. I the shaded them with Distress Oxide in Mowed Lawn.
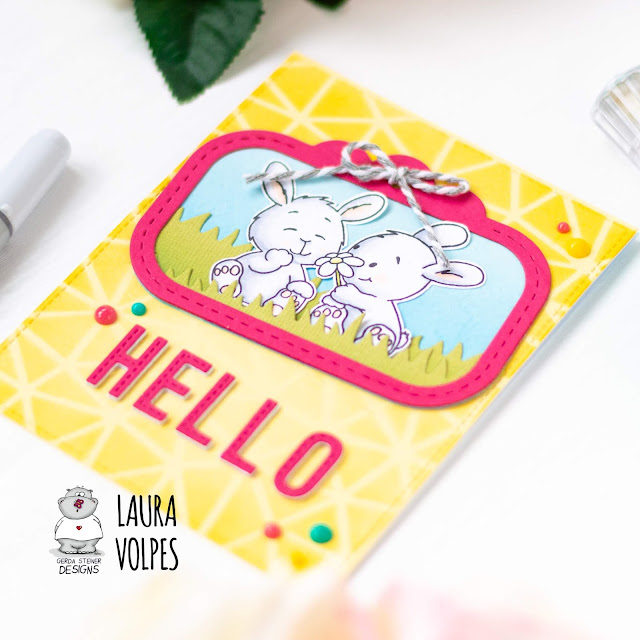
Using a frame tag die, I die cut some pink cardstock. I ended up cutting it twice and layering the die cuts, in order to create some dimension.
For the sentiment I used some alphabet dies. I cut the word hello, once from pink cardstock and three times from white cardstock. I stacked all the die cuts together and glued the sentiment on my card.
I mounted everything on a top-folding A2 card base and decorated the inside of the card. I stamped one of the bunnies in the Easter Bunnies stamp set by Gerda Steiner Design with Memento ink in London fog. I also stamped the sentiment thank you for being you from the Bunny Friends stamp set with the same London Fog ink.
I finished off the front of the card by adding some Nuvo Drops in Dandelion Yellow, Carnation Pink and Caribbean Ocean and a little bow that I tied from some gray and white twine.
As I mentioned at the beginning of this post, I uploaded a video tutorial in which I show how to make this fun and bright spring card. Make sure to watch it, as I am also sharing some tips on how to glue your die cut sentiment so that they are straight and centered.
And that's it for today! I really hope you enjoyed the post and the video and I hope I inspired you to create with the Gerda Steiner Designs Bunny Friends stamp set!
Thank you all so much for stopping by and have a great day!


No comments:
Post a Comment
Thank you so much for taking the time to leave a comment!