

I'm so excited to be a guest designer for Gerda Steiner today! With Christmas coming I chose the Holiday Friends as my stamp set to create my projects with. My first project is a Square Pillow Box as this will be so cute under the Christmas tree and my second project is a funny Christmas Card with the gingerbread men from this same stamp set.
PROJECT 1: SQUARE PILLOW BOX

I stamped my images on the pillow box that I cut out with a extra thick cardstock I had in my stash. The images I wanted in the front I stamped first. Then I put my masking paper from Inkadinkado on top of them and stamped the other images.


I coloured the images with my Copic Markers (you can find a list of the colours I used below). In my video you'll see that when I coloured the nose of Santa the colours ran quite a bit, but I fixed that with my Colorless Blender and you won't see anything when the colouring is done.


I also coloured the background with my Copic Markers. I went from my darkest at the top to the lightest at the bottom to get a nice transition. I really love how this turned out! To close the box I used a beautiful light blue bow and punched two holes in the box. That way you don't have to put any ribbon over the image.

To create the tag I used the Say What? Gift Tags from Lawn Fawn and stamped the sweet little angle. This finished the box completely. To add some shimmer and shine I used some Ranger Stickles Icicle on the halo and the wings of the angle. If you want to see how I made this box step by step you can watch the video tutorial below.
Used Copic Markers:
Front box:
- Skin Santa: E00 + E15 + E11 / R22 (nose)
- Santa hat + suit: R22 + R29 + R24 / C-3 + C-1 + C-0
- Santa's eyebrows + beard: C-3 + C-1 + C-0
- Santa's shoes: E31 + E37 + E35
- Presents: R22 + R29 + R24 / G14 / G17 + G07
- Trees: YG91 + YG99 + YG95
- Stars: Y11 + Y17
- Sky: B99 + B97 + B95
- Ground: Y99 + YG95 + YG93
Back box:
- Reindeer: E31 + E37 + E35 + R22 (cheeks)
- Nose: R22 + R29 + R24
- Bottom feet: E37 + E35 + R22
- Hooves + antlers: C-3 + C-1 + C-0
- Collar: Y11 + Y17
PROJECT 2: CHRISTMAS CARD

For my second project I only took the gingerbread image as I knew what I wanted to do with that right away. I love Gerda Steiner Designs for the funny designs, so I wanted to show that in my card. Just a simple design but with a fun touch.


To give them something to ground them on, I masked off the bottom piece of the white layer and used my Tumbled Glass Distress Oxide Ink to put some colour behind the gingerbread men.

That way you get a bit of depth and definition and I love the light blue colour behind them.

I chose the 'A Very Merry Christmas' Paper Pad from Carta Bella to cut out my layers with the Outside In Stitched (Scalloped) Rectangle Stackables from Lawn Fawn. I adhered the front layer with an angle to give it some more interest. Even though the design of this card is quite simple, I love how it turned out with these funny gingerbread men and I hope you love it too!
Measurements card inches:
- White card base: 5-1/2" x 8-1/2", score at 4-1/4"
- A Very Merry Christmas (blue) layer: 5-1/2" x 4-1/4"
- A Very Merry Christmas (red/green) layer: 5-1/4" x 4"
- A Very Merry Christmas (green) edge: 4-1/2" x 3-1/4" -/- 3-1/4" x 2"
- White layer: 3-1/2" x 2-1/4"
- A Very Merry Christmas banner: 1-5/8" x 1/2"
Measurements card centimeters:
- White card base: 14,0 x 22,6 cm, score at 10,8 cm
- A Very Merry Christmas (blue) layer: 14,0 x 10,8 cm
- A Very Merry Christmas (red/green) layer: 13,3 x 10,1 cm
- A Very Merry Christmas (green) edge: 11,4 x 8,2 cm -/- 8,3 x 5,1 cm
- White layer: 8,9 x 5,7 cm
- A Very Merry Christmas banner: 4,3 x 1,4 cm
Used Copic Markers:
- Gingerbread men: E33 + E37 + E35
- Accessoiries: BG15 (gingerbread man no. 1 / RV09 (gingerbread man no. 2 / Y13 (gingerbread man no. 3)
Video tutorial for square pillow box:
I had a great time creating these projects and it was such an honor to be a guest designer today. Thank you so much for stopping by!
If you don't want to miss any of my video's you can subscribe to my YouTube channel here:

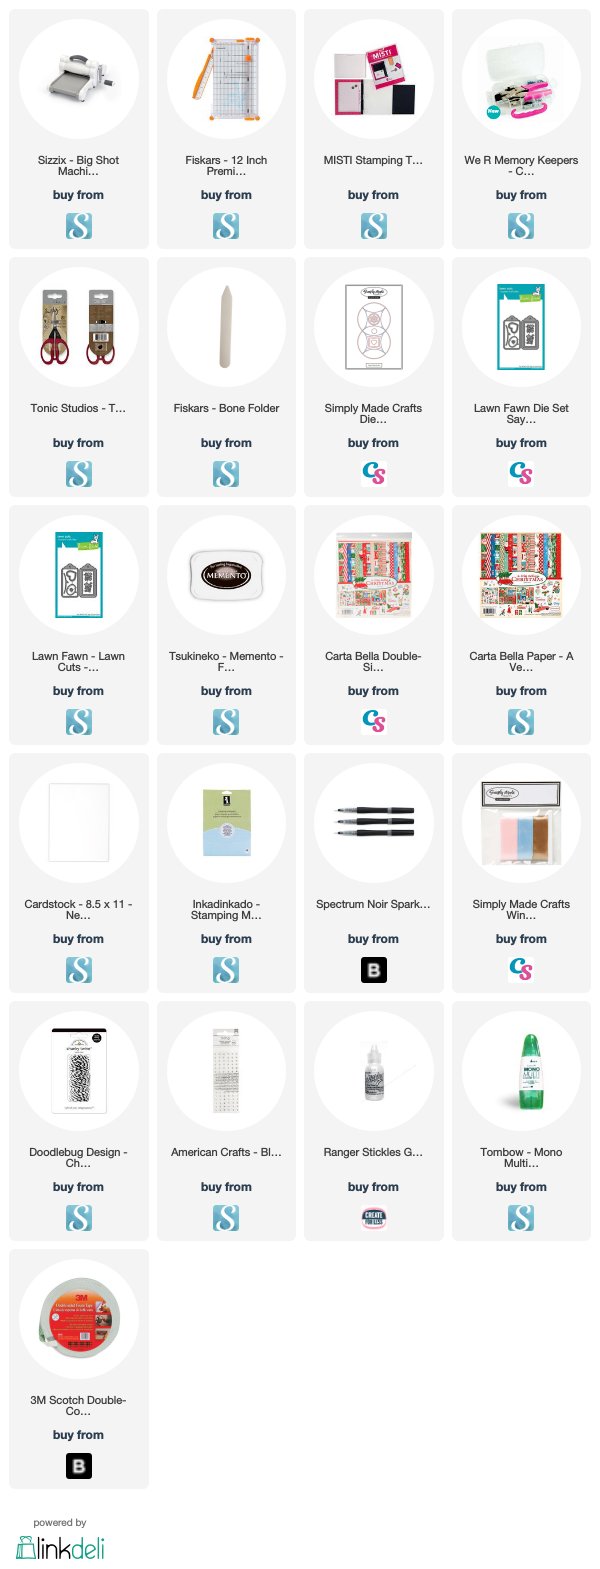
Product list (the Holiday Friends stamp set is available at Gerda Steiner Designs):
Such cute projects!!! LOVE them all!
ReplyDelete