
Greetings everyone! It's me again, Jessie Scott (@chevy.scott on IG), Guest Designing for Gerda Steiner Designs!
Today I have another fun collaboration with Pear Blossom Press products to share. What's better than a Flying Pig? One coming to bring you the best birthday wishes! Check out this fun birthday card using You Lift Me Up.

I colored this fun piggie with my Olo Markers and used some black and white baker's twine to add some texture to the string look wrapped around his middle and attaching to the balloon. (I also want him to actually swing in the air!) The stars are actually a small punch I used to make holes for my light up part.

I made a fun pastel cloud background with stencils and Distress Ink. Gold splatter was added for more interest.
So, with the magic of the internet haha I printed out the sentiment I needed for a fun birthday card. (I had forgotten to print it first before cutting the panel and ink blending so the background above actually ended up getting used on another card haha and I made a new one.)

To learn how I lit up this card so easily, venture over to my blog today for the companion post with Pear Blossom Press!
Even without the light effect, this baby swings! I adhered the balloon to the card and left the piggie to swing freely on the card.


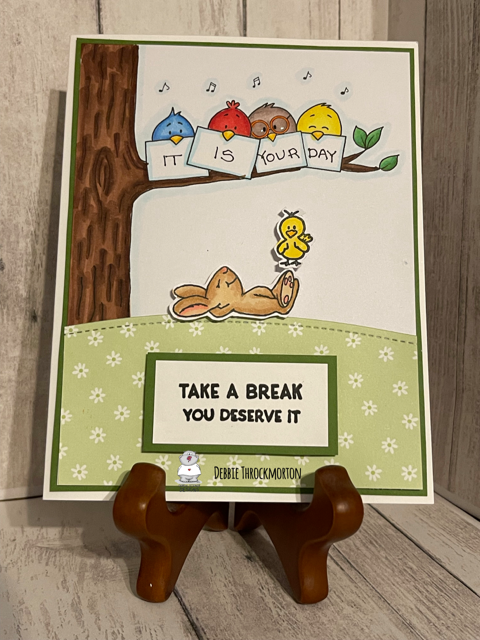
Here's the finished project!
See you again soon!


.png)
.png)

.png)
.png)
.png)


.png)

.png)


.png)

