Sunday, April 30, 2017

Guest Design - A cup of Tea by Australe Créations

Hello everyone! 

It's Céline from Australe Créations, I’m so happy to find you today for another a card realize with the coffeesaurus stamp set !

This time I choose my Zig Clean Colors Markers to color my dinosaur,


You like it ?
                                                                 
See you soon

Saturday, April 29, 2017

Go Wild on Safari...

Hi Everyone,

Its Hazel from Didos Designs here today to show you a couple of creations I have made using the super Go Wild Stamp Set.  I have loved playing about with this set.  
My first creation was made using promarkers and distress inks for the moonlit night sky, with our Little Safari Man out looking for Giraffes!!! I think its behind you!!! 
My second card used distress inks again for a different background and a wee stamped elephant cut out.  You can get the dies to go with this set here.   I have to say that using the dies would be so much easier than all my time spent cutting!!!

Thank You for dropping by today, I hope I have inspired you,  Enjoy the weekend whatever you are up too!!

Hazel. 

Friday, April 28, 2017

Guest Designer - Safari Friends (Part 2)

Hello everyone!

I'm Diana from Moments of Creativity and I'm back with another project featuring a very cute Go Wild Clear Stamp Set which turns out to be perfect for creating any adventure scenes with adorable animals and a ranger.

Today our little town boy continues his adventures at the safari park. Do you remember which animal our ranger spotted first? 😊 As it actually turned out, the giraffe was peeking out of the tree to see how close the boy was as it was his birthday and the animals prepared a surprise for him 😉

And here is a picture from another perspective to give you a better understanding of who was responsible for a birthday cake:

I do hope everyone was enjoying a birthday party that day 😊

Thanks for stopping by! See you next time!

Yours, Diana

Wednesday, April 26, 2017

Go Wild with Guest DT Justine Hovey!


Hi Crafters,
it's Justine again and I'm back guest designing for Gerda Steiner Designs. I just love these critters! They are too adorable and I had this funny image in my head of the animals car-jacking the safari vehicle and leaving the guide behind so this is what I created with my Copics and the Go Wild Stamp Set. I'm am also giving away a Go Wild Stamp away on my Blog!


If you would like to know more about the colours I used for this image, check out the video or my BlogThank you Gerda Steiner Designs for having me again!


SaveSave

Tuesday, April 25, 2017

Kitten in Boots

Hi there,

this is my third project using an image from the fabulous Gerda Steiner Designs Spring Digital Stamp Bundle:

  • color the cute Kitten in Boots image which is available as part of the Gerda Steiner Designs Spring Digital Stamp Bundle with ZIG Clean Color Real Brush Pens and a damp watercolor brush
  • cut out a panel from watercolor paper using one of the Lil' Inker Designs Wonky Squares dies
  • create a background using Paper Artsy Infusions (In the Navy) and water from your Mini Mister
  • stamp the sentiment from the WPlus9 Greetings and Salutations set with Versafine Smokey Gray and punch it out with the help of a circle punch
  • use the same Wonky Square to cut out the cardbase

Have a sunny day.

Yours,

Monday, April 24, 2017

Larissa - Coffeesaurus

Hello everyone, today my name is Larissa from the blog Car-d-elicious and I am from the Netherlands. Today I am guestdesigning at Gerda Steiner designs. I have made 2 cards with a cute coffee drinking dinosaur. 


On the first card I have coloured the Coffeesaurus from Gerda Steiner designs with my Polychromos pencils and then I fussy cut the image. On a white card I adhered a piece of green star design paper from the Lucky prints paper pack from My favorite things. I have cut a rectangle from black cardstock and stamped sentiments from the stampset on it with Versamark ink. Then I embossed the sentiments with white embossingpowder. I have cut a label from white cardstock with the Sentiment label strip die-namics from My favorite things and after I adhered the label on the card I adhered the dinosaur on the card. I have decorated the label with black hotfix stars.


Green coffeesaurus
STAMP: Coffeesaurus from Gerda Steiner designs
COLORING MEDIUM: Polychromos pencils
PAPER: White and black cs, Lucky prints paper pack from My favorite things
INK: Versafine onyx black, Versamark ink
DIES: Sentiment label strip die-namics from My favorite things
ACCESSORIES: White embossingpowder, black hotfix stars


And this is my second card:
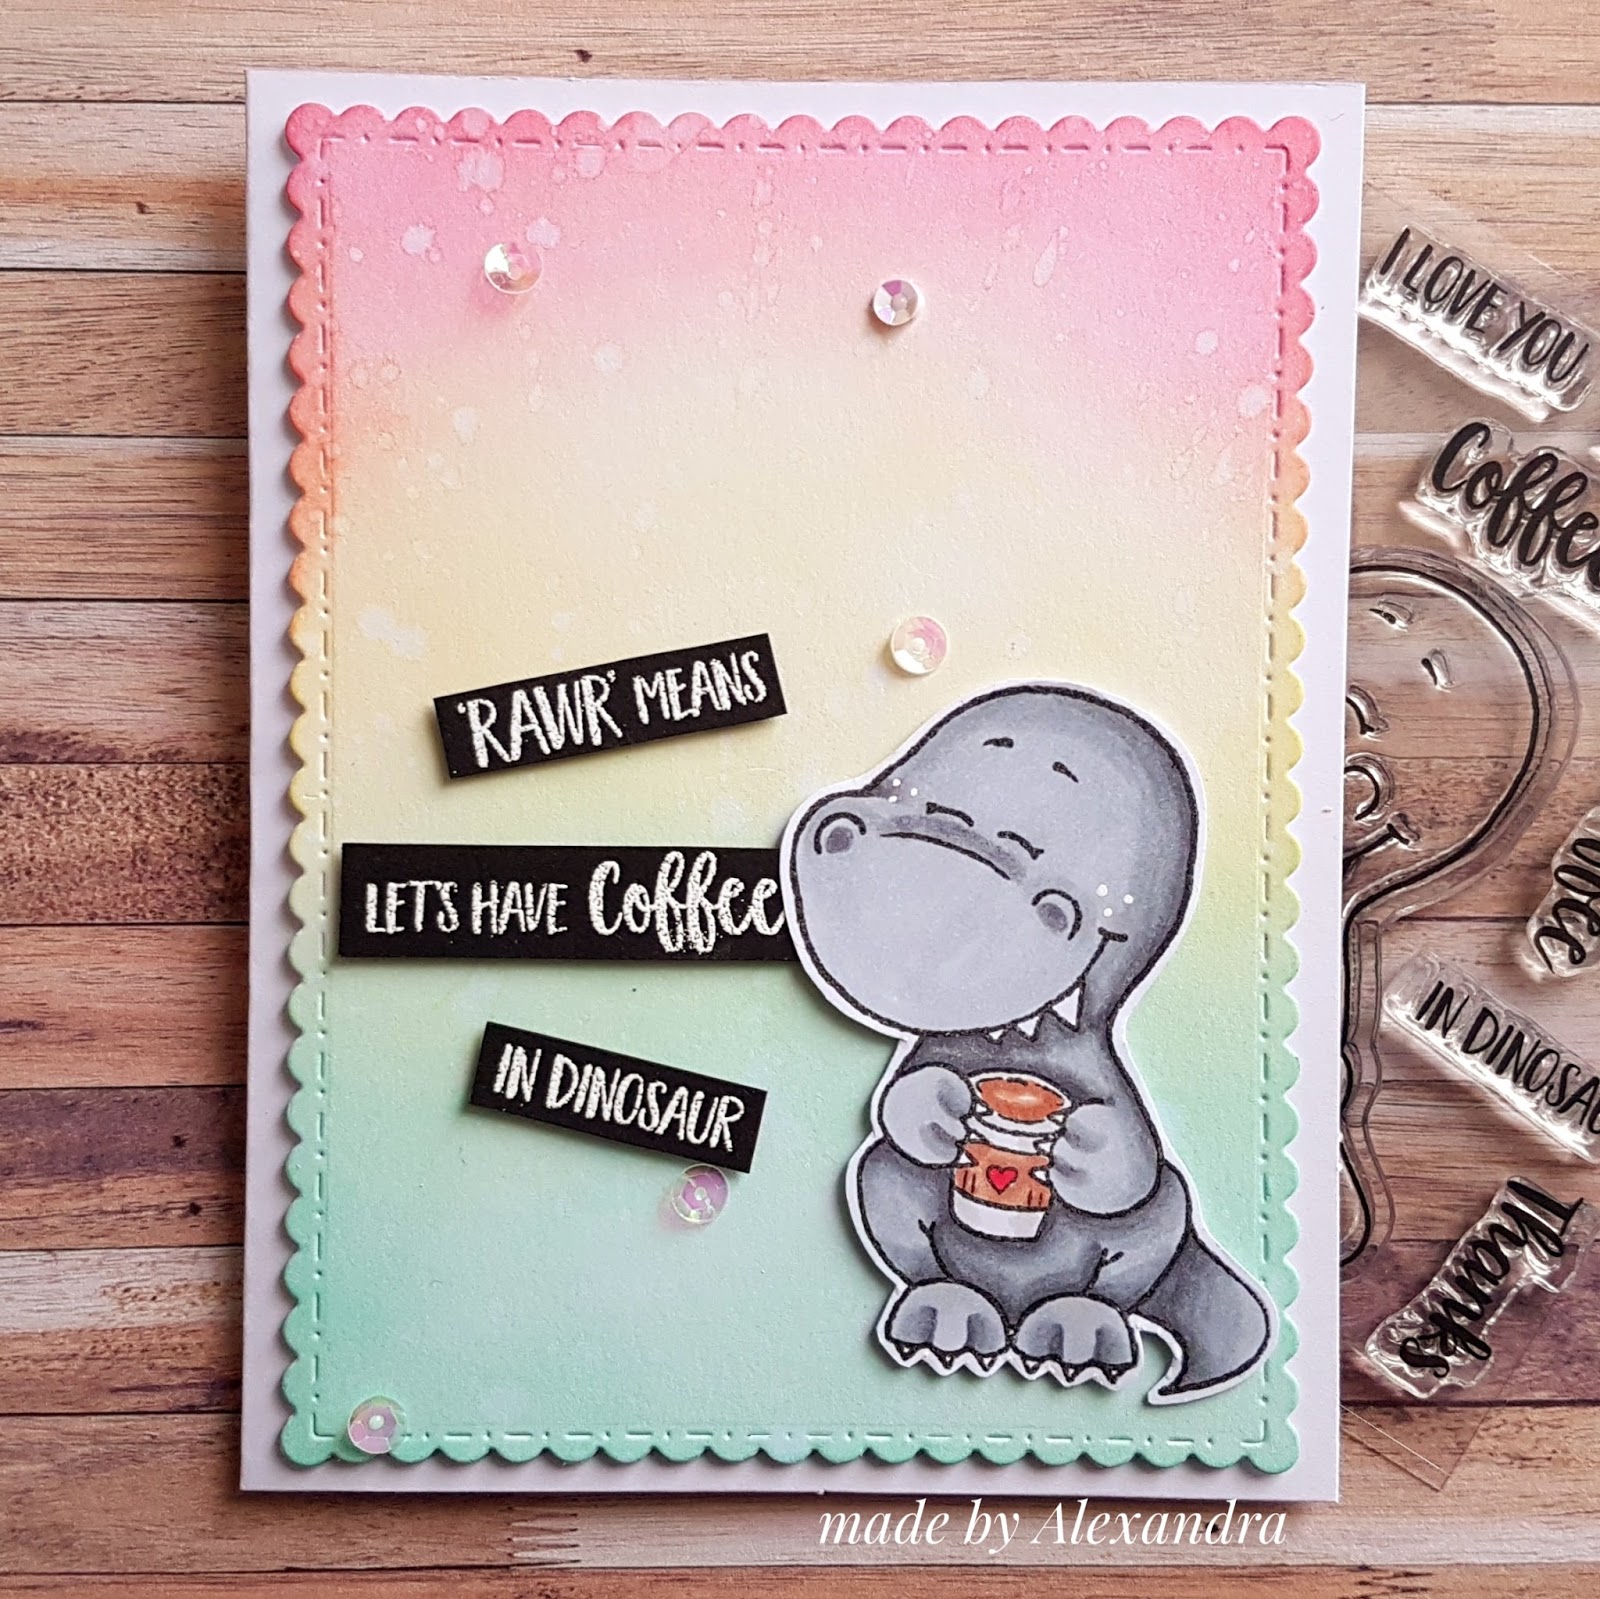

On my second card I decided to colour the dinosaur from the stamp set Coffeesaurus from Gerda Steiner designs in pink with my Polychromos pencils. Again I have fussy cut the image. On a piece of white cardstock I stamped a sentiment from the stampset a couple of times with Chocolate brown dye ink from My favorite things. I have cut 2 squares from the white cardstock and also from a piece of dark brown cardstock with the Crea-nest-lies XXL 42 and 50 from Crealies. I have adhered the squares on top of each other and then I cut a little label from the darkbrown cardstock. I have attached the label with the Tiny attacher from Tim Holtz onto the squares. Then I adhered the squares on a pink card. I adhered the dinosaur with foamtape on the card. 


Pink coffeesaurus
STAMP: Coffeesaurus from Gerda Steiner designs
COLORING MEDIUM: Polychromos pencils
PAPER: Pink, dark brown and white cardstock
INK: Chocolate brown dye ink from My favorite things, Versafine onyx black
DIES: Crea-nest-lies XXL 42 and 50 from Crealies
ACCESSORIES: Tiny attacher from Tim Holtz


I am a participant in the Gerda Steiner designs Affiliate Programme. This means that if you click on one of my links and subsequently make a purchase, I will receive a small commission of store credit, at no extra cost to you.

Saturday, April 22, 2017

Safari Time.

 Hi Everyone,

Im Hazel from Didos Designs and Im excited to share with you today 2 creations I have done using the super Go Wild Clear Stamp Set.  

For my top card I have used a die for the circle in the middle and then stamped lots of giraffes.  I love using clear stamps as you can see exactly where you are stamping.  

I have coloured the giraffes in using promarkers.  I then added the sentiment from the stamp set in the middle of the circle.  

For this card I have done some paper piecing.  I used some pretty girly paper as felt I wanted a pretty girly card.  I stamped the elephant on the white card then the 2 papers and cut them out and popped them on the areas I wanted. I finished her off with glossy accent eyes. 

Thanks for dropping by today.  

I hope you like what I have done. I will be back again next weekend with another couple of creations,  

Hazel. 

Friday, April 21, 2017

Guest Design - Bee Strong by Australe Créations

Hello everyone! 

It's Céline from Australe Créations, I hope you are well !

I find you today for a card made with the mini stamp set Bee Strong which also exists in digital stamp here.

I chose a clean and simple style with a border scalloped like a frame and cloudy background.


Thank you so much for stopping by, Have a great day !

See you soon

Thursday, April 20, 2017

Guest Designer - Safari Friends (Part 1)

Hello everyone!

I'm Diana from Moments of Creativity and I'm back with another card featuring a very cute and recently released Go Wild Clear Stamp Set which is perfect for any adventure scenes with cute animals and a ranger.

This time I've decided to send our cute little town boy to the safari park to observe freely roaming animals. I wonder which animal our ranger met first 😉


Yep, he really managed to catch a glimpse of the tallest animal in the world 😊

To create this card I went with a multi-layered landscape: hills фе the back, green long trees (I guess for the animals to better hide from people 😃), warm sun and grass. All these elements were made of the white cardstock and colored with Distress Inks and Copic markers.

Well, to tell you the truth, this card is just a beginning of our little ranger's acquaintance with the creatures that live at the safari park. Next time you'll be able to see the story's development 😊 Stay tuned!

Thanks for stopping by! See you next time!

Yours, Diana


Wednesday, April 19, 2017

Rawr

Hello everyone!

Alexandra from made by Alexandra here today to share a card that I made using the upcoming stamp set Coffeesaurus


For this card I started by stamping the cute dino and colored it using Spectrum Noir markers. Next I inked the background using Distress inks .


Next I stamped the sentiment using Versa Mark ink and embossed using Wow embossing powder.
Adhered everything using foam tape and added some sequins and the card was done!

Thank you so much for stopping by! Have a great day!


Tuesday, April 18, 2017

Easter Ornament

Hi there,

I used an image from the Gerda Steiner Designs Spring Digital Stamp Bundle to create a little Easter ornament:

  • color the Tulip Bunny and the Tulip Grass which are available as part of the Gerda Steiner Designs Spring Digital Stamp Bundle with Zig Clean Color Real Brush Pens and a damp watercolor brush
  • cut out an egg-shape from the Taylored Expressions Egg Stacklets around the image and a larger one from kraft cardstock
  • add some shimmer to the border of the kraft egg with Wink of Stella Clear Glitter
  • I wrote the sentiment on a thin strip of kraft cardstock with a dip pen and black ink
  • punch a flower-shaped hole into the ornament and thread some light-blue twine through it
  • add some Enamel Accents (Caribbean Coast) as final touch

I hope you had a wonderful Easter Time.

Yours,

Sunday, April 16, 2017

Guest Design - Rawr by Australe Créations

Hello everyone! 

It's Céline from Australe Créations, I’m so happy to find you today for a card realize with the coffeesaurus mini stamp set !
                                                                                                              
I choose to work on a kraft base with the cute dinosaur colored with Copic Markers,


Background with sentiment on the whole surface 


and border like a frame


I hope you like it !
                                                                                       
See you soon :)


Saturday, April 15, 2017

Guest Designer - Welcome To The World

Hello everyone!

I'm Diana from Moments of Creativity and I'm back with another card featuring a very cute and recently released Go Wild Clear Stamp Set which turns out to be perfect for creating any adventure scenes with adorable animals.

And here is what I came up with for today:

Yes, this stamp set came also in handy for making newborn baby cards 😊

I started off by creating ink blended background and then spritzed some water on the panel to get the spots. Once this was done, I die cut a star on one side of the panel and added some false stitches on the other one. After placing a piece of design paper and the panel on the card base, I stamped a mouse, an elephant and balloons onto a piece of paper and colored them with my Copics. Then I put all the elements together and added the stamped sentiment. Since the card looked a little empty I added a butterfly and a cloud to fill in the empty space. And that's how this project was created 😃

Well, I guess that's all for today 😊

Thanks for stopping by! See you next time!

Yours, Diana

Friday, April 14, 2017

Flamingo mania


Good morning peeps!
here I am again, with my second card... made with Party Animal clear stamp set... I loved it!! It's a very simple card, but I love coloring on craft, and I love flamigos!! =D


I wanted to thanks once more Gerda Steiner Designs for inviting me to be guest here, I really feel honored for the chance...
Wish you all ladies the best, and thanks for passing by....

Thursday, April 13, 2017

Bee strong! - interactive card


Hello everyone!

Alexandra here from made by Alexandra sharing a cute interactive card that I made

Do you remember the cute bee that was the image for March challenge? Soon you can find it also as a clear stamp!


For this card I started by stamping this adorable bee and then colored using Spectrum Noir Markers. And ever since I saw this cutie I knew I wanted to make an interactive card so next step was to die cut the cloud borders so I can hide the brad behind the clouds :)


Inked the background using Distress ink and adhered the bee to a piece of acetate, and attached the piece of acetate to the cloud border.
On the other cloud border I stamped the sentiment , adhered everything using foam tape so that the bee can move and added some sequins, and my card was done!
Also shared a little video on how the card work

Thank you so much for stopping by! have a great day!


Tuesday, April 11, 2017

Thinking of you Kitten

Hi there,

Gerda Steiner Designs released the fabulous Spring Digital Stamp Bundle and this is my first creation using one of the wonderful images:

  • color the adorable Kitten in Flowerpot image which is available as part of the Gerda Steiner Designs Spring Digital Stamp Bundle with Faber-Castell Albrecht Dürer Pencils and a damp watercolor brush
  • add highlights to the eyes with a white gel pen and some sparkle to the pink flowers with Wink of Stella Clear Glitter
  • to embellish the flowerpots I stamped some hearts from the Gerda Steiner Designs Happy Hoppy set with Versamark and heat-embossed them with WOW! Bright White Super Fine embossing powder or simply drew in some with white acrylic paint 
  • stamp the sentiment from the Altenew Painted Greetings set with Versafine Onyx Black 
  • apply Distress Oxide Ink (Iced Spruce) throught the Tim Holtz Layering Stencil (Dot Fade)
  • mount the panel onto pink glitter paper before adhering it to the cardbase

I hope you got inspired.

Yours,


Monday, April 10, 2017

Coloring a Lion -tep by Step Copic Marker Tutorial


Hello! It's Mindy from My Creative Scoop. Today I'm sharing another Copic Marker Tutorial with you all using this darling lion stamp from the Party Animals Stamp Set.

You can also get matching dies that coordinate with this set -- making creating super easy!

Ok, let's start the tutorial. Each new colorI use is in the photo making this Copic Marker Tutorial super easy to follow. :)


Since the stamp is stamped with Black ink, we want to add some W7 into the main, this will add much more definition to your coloring and really creating hair like texture.


I added some W3 to the bottom of the eyes giving them a little shadow will give them more dimension and appear more 3d like.


Well, I hope you have enjoyed my Copic Marker tutorial. You can find more Copic Tutorials on my website. www.MyCreativeScoop.com

♥Mindy