Wednesday, December 30, 2015

Meowy Christmas!!

Hi there!!

It's Yolanda here, from Scraping Time saying goodbye to the year with these two cards. 
I hope 2016 brings you happiness and "stamps"... lots of "stamps"!!...

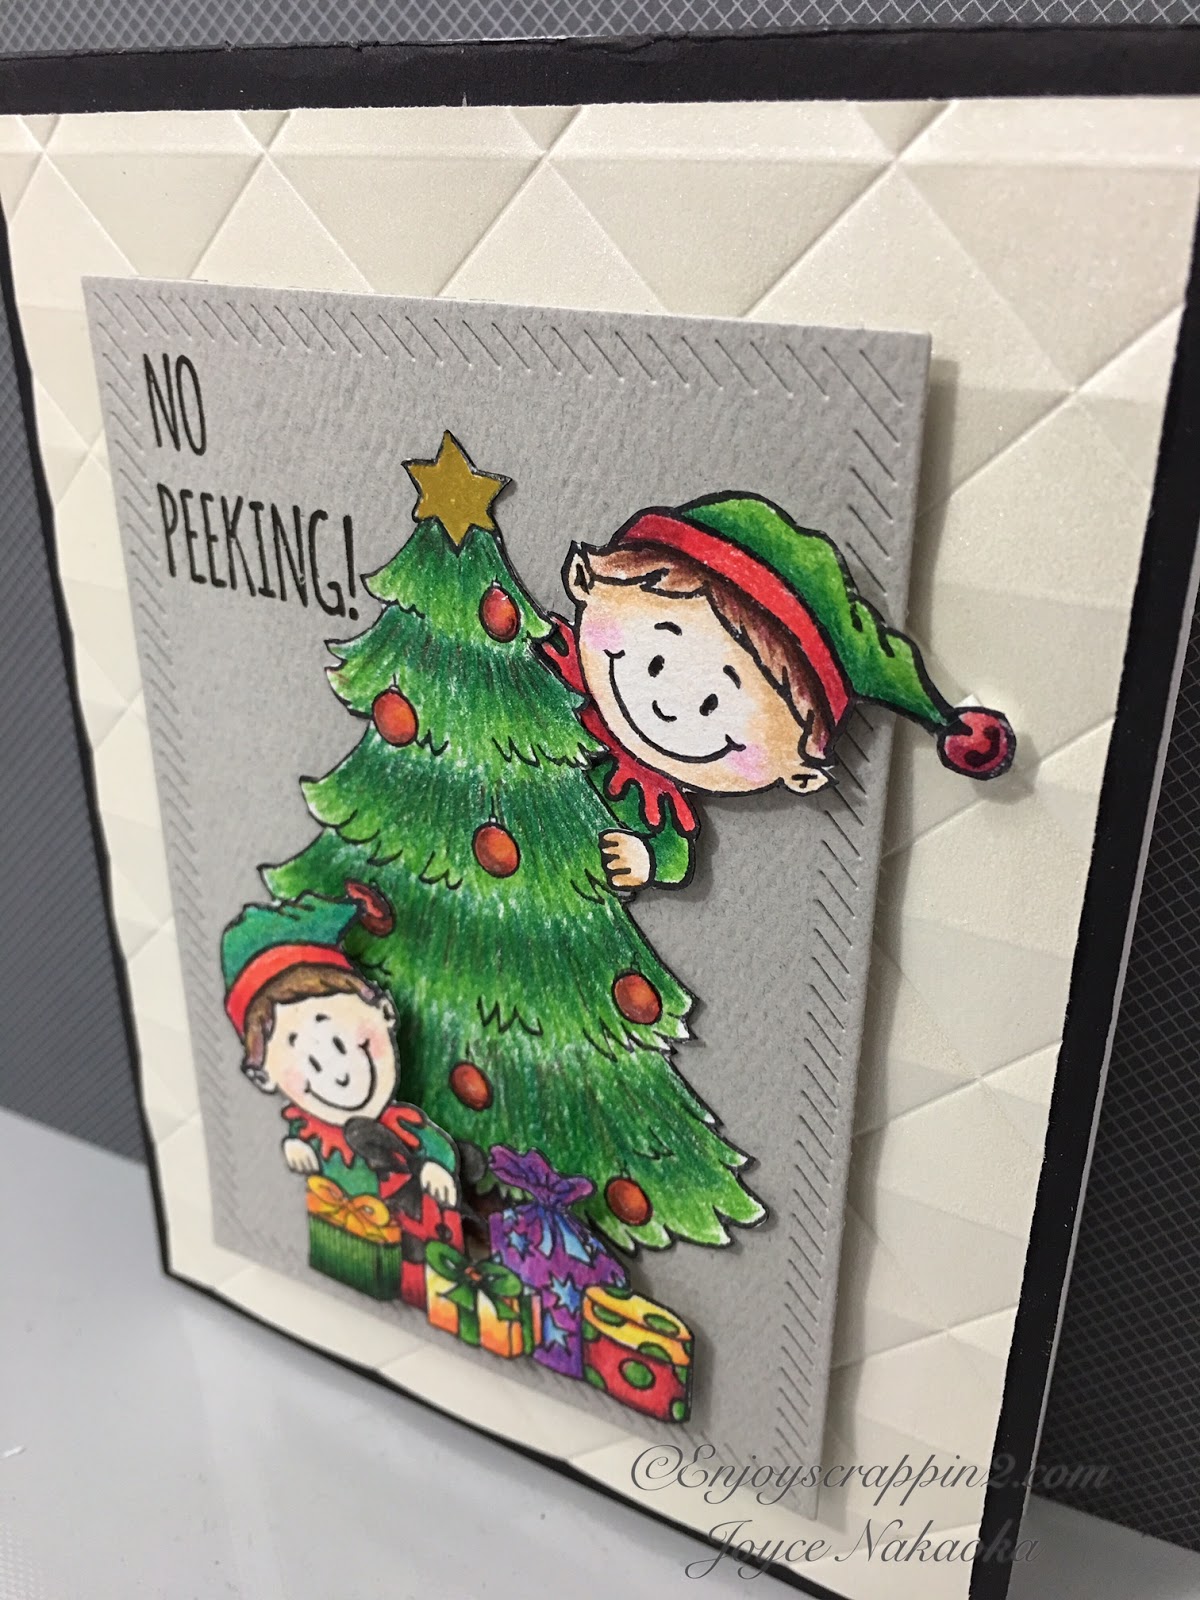
For these cards I am going to show you today, I have been playing with the cute "Deck the Halls" clear stamps set. I think these stamps are gorgeous and have so many possibilities for your Christmas cards since it includes a couple of cute sentiments, the cool cat and some small stamps which are so useful to make nice backgrounds or maybe to play as I have done today with my cards.

Firstly, I am going to show you a card, where the cat is wishing you a "Meowy Christmas".


I decided to stamp the sentiment into a frame and I did some masking to add a couple of balls to the main stamp. I also stamped the bold star from the set into the big ball.


Then, I thought it could be nice to add some lights on the top with that small stamp included in the set. I am not so good handwritting in my cards so I decided to stamp the string with a part of a sentiment. After that, I stamped one by one the little light bulb included on the set with Memento Black ink, colouring all the stamps with Spectrum Noir Markers.


Then, I did a line with a pencil and I fussy cut with the scissors my panel to add a wood decorated paper to make the scene more realistic.

To finish the card, I added some Wink of Stella Clear to the small details.


Once I had made this card I thought that I wanted to use again the small Christmas lights and then I decided to make the second card. In this occasion I needed my Memento Black Marker to make the main part of the card.

I decided to put the lights around a heart shape giving the main power to the sentiment in the middle of the heart,


 I encourage you to give it a try if you have this set. It´s a CAS result that I am sure you will enjoy.

First of all, I die cut a false stitched square and a heart with my Big Shot. I used it as a template to make my card. Then, I drew the heart with the black marker.


It was time to stamp all the lights. Once I did it, I coloured it with Spectrum Noir Markers and I added some Wink of Stella Clear in all of them.
Finally, I stamped the sentiment with Versafine Black Ink.


I really enjoyed playing with this set and I say goodbye to 2015 with these two cards, 
I wish you all the best and see you in 2016!!

Hugs from Spain!!


Monday, December 28, 2015

Peeking Santa

Hey everyone! 
It's Wiebke here today and YES, I know I know! Christmas is almost over! But I thought I just had to share this last christmas card with you guys :)

I used the Peeking Friends clear stamp set to create this little scene. I think the peeking santa is just perfect to peek from behind a window.


I die cut a window out of my card basis and placed a piece of patterned paper behind. I colored the santa with my copic markers and glued him down from behind the window. If you cut out the gloves, it looks like he is opening the window.


I hope you have had an amazing christmas season with all of your loved ones! And a santa who brought some nice gifts - just like this one :)

Friday, December 25, 2015

My Last Christmas Card for 2015


https://youtu.be/I_hVkWFVK0c

Aloha Guys!  Merry Christmas Everyone!  This is Joyce from http://enjoyscrappin2.com  and I want to add my last Christmas card for 2015, using Gerda Steiner Designs Peekin Friends.  I've used almost every single image from this stamp set and I didn't want to leave this super cute guy out :)  t hope you enjoy this video and I'll see you guys back, after Christmas.   Thanks again :)

http://enjoyscrappin2.com

Thursday, December 24, 2015

Fussy Cutting a Winter Scene and Stamping a Blizzard


Hello crafty friends! It's Jess from JessCrafts.com. Today I am sharing a card made with the It's Beginning to Smell a Lot Like Christmas rubber stamp set. I wanted to create a blizzard for this cute little mouse to be enjoying his cocoa in.


I used white pigment ink to stamp the snow but to create the fade I kept stamping without reinking the stamp. Even though this is a Christmas set I wanted to leave it open for any occasion so I used some non-traditional Christmas colors and stamped a generic sentiment on it. 


Check out Gerda Steiner's amazing selection of Christmas stamps and then share your creations over on the Facebook group

Tuesday, December 22, 2015

Peeking Friends Christmas Tag Trio

Hi there,

it's Tanja here and this is my last post before Christmas. I am wishing you a wonderful time.

I created this Tag Trio for my loved ones - my husband, my son and my daughter:


I will have a step-by-step tutorial for each one of them up next:


Have a christmassy day.

Yours,


Monday, December 21, 2015

Walking in a Winter Wonderland

Hey everyone!
It's Wiebke here and I want to share a card with you today, which I made with THIS cute digistamp penguin winter collection!


I embossed a few stars on my background and blended over it with some Distress Ink colors. I really wanted to get a soft looking winter background. I die cut two landscape borders out of white cardstock and placed them on the bottom to let it look like some snow hills. After all, I colored the cute penguin plus the christmas tree with some Copic markers and put them into the scene using foam tape. You may not see it on the pictures, but there's also a light shimmer of Wink of Stella on the ornaments and the star.


I hope you enjoyed it! Have a great week and some last days before christmas! :)

Wednesday, December 16, 2015

Reindeer spinner card

Hi there!!

It's Yolanda here, from Scraping Time. I am very happy today because I have made my first spinner card. Can you believe it??

For this occasion, I have been playing with the cute reindeer from "Holiday Friends" clear stamps.
The reindeer stamp is perfect for this kind of cards since it is completely symmetrical so it makes it very easy.


Firstly, I stamped the reindeer twice with Memento Tuxedo Black ink and coloured it with Spectrum Noir markers. Then I fussy cut both reindeers and prepared the structure of the card.
I used very soft colours for the panels, with these cute decorated papers. I die cut a circle for my window and then I stick my golden thread among my two reindeers and on my panel. Since I wanted to secure it, I hid a part under the snowflake panel. Then I die cut the same circle on my card base and hid the thread under the blue decorated paper. 


I stamped the sentiment from the set with brown Memento Ink on a banner and I completed it with some enammel dots. I love the result since this reindeer is so nice!! I think you can't appreciate it in the picture but I put some wink of stella clear on the red nose, the horns and the legs.


The funniest part of this kind of cards is the smile you will get in the person who receives it since you can wrap the thread of the reindeer several times before putting it into the envelope and when someone opens it... voilà!!!!!


Saturday, December 12, 2015

Tiny Stamps - Great Cards ... Part 2

Hi there,

it's Tanja here again and as promised I will be showing you the second card using small stamps:


I hope that you like my creation.

Yours,


Friday, December 11, 2015

4 Christmas Tags with Added Shimmer


https://youtu.be/fxAdy82q_no

Aloha Guys!  This is Joyce from http://enjoysrappin2.com and today I have 4 tags for you with these adorable snowmen.  I cut these out using some Neenah desert storm card stock and added shimmery snow banks along with some vellum.  I colored the images using some watercolor pencils.  I hope you enjoy these tags and I'll see you guys back next time.  Thanks again :)

Video: DIY Snow Globe │ Shaker card

Hello everybody!! This is Emily Cupely and today I'm here as a guest designer with a video where I made my own snow globe with my circular dies and created a shaker card with it. For the images, I used the adorable stamps in the Snowman Friends stamp set. Hope you enjoy the video tutorial below!! ^_^

***Don't forget to participate in the GIVEAWAY on my Instagram: @EmiCup! :)


Thursday, December 10, 2015

All Over Snowman Christmas Card


Snowman Christmas Card by Jess Crafts using Gerda Steiner Designs Snowman Friends

Hello crafty friends! It's Jess from JessCrafts.com. Today I am sharing a card made with the Snowman Friends stamp set. I used the littlest snowman to create my own background paper and filled in any gaps for small hearts.

Snowman Christmas Card by Jess Crafts using Gerda Steiner Designs Snowman Friends

You can make your own background paper with any stamp but I recommend starting from the center and working out and having a small stamp or two in mind to fill the gaps. The coloring takes a little longer with this design but to save time I didn't do any shading or blending. I love seeing everyone's work on the Facebook group and I encourage you to join and share if you haven't already.

Snowman Christmas Card by Jess Crafts using Gerda Steiner Designs Snowman Friends


Tuesday, December 8, 2015

Tiny Stamps - Great Cards ... Part 1

Hi there,

it's Tanja here and I prepared two cards for you featuring some of the smaller stamps from two of the Gerda Steiner Designs winter sets.


I will be back this Saturday with the second card.

Thanks for stopping by.

Yours,


Wednesday, December 2, 2015

Green Christmas!

Hi there!

It's Yolanda here, from Scraping Time. Today, I want to share with you a couple of works made with some of the cuttest Christmas stamps from the shop: Deck the Halls, Holiday Friends and Peeking Friends. All of them are clear stamps and I love how adorable they are!

When I started thinking about this post, I thought I wanted to use any bright colour since I`m usually making softer cards lately. Then, I chose a vibrant green and this was the first idea to choose my papers, cardstocks and even the stamps, since the first one I decided to use was the cute elf.


I stamped all the stamps with Memento and coloured it with Spectrum Noir Markers.  Then, I fussy cut them without leaving any white line on the borders.

For the card, I cut with the big shot 3 stitched rectangles in green cardstock, red decorated paper and white cardstock. I made a cute border on the top of the white panel and I used it to hide one of the elfs. Then I die cut three stars. I hided the other elf into the biggest one, then I put some acetate and I made three different shakers with the stars. For the smallest ones I used micro beads and for the biggest one I used white and pink glitter. I just wanted to give it some shine when you move it!


Then, I sticked the three panels on a green base and I stamped the sentiment from "Peeking friends stamps" with red Hero Arts Ink.


For the tag, I used the biggest one from Mama Elephant and I decided to use acetate for the panel but in this occassion I chose translucent acetate since it is stronger than the clear one. I used two different reindeers and I used the same colours as I did in my card.


These reindeers are so much fun and I used some wink of stella clear on the nose (where I also put some glossy accent later), the hats and the reindeers hoof. 

I used some white embossing powder for the sentiment and I used a second red tag as a base. I love bows so I used a red one to finish my tag.


It was great to make these works for today and I hope you enjoy! Have a great week!! :)