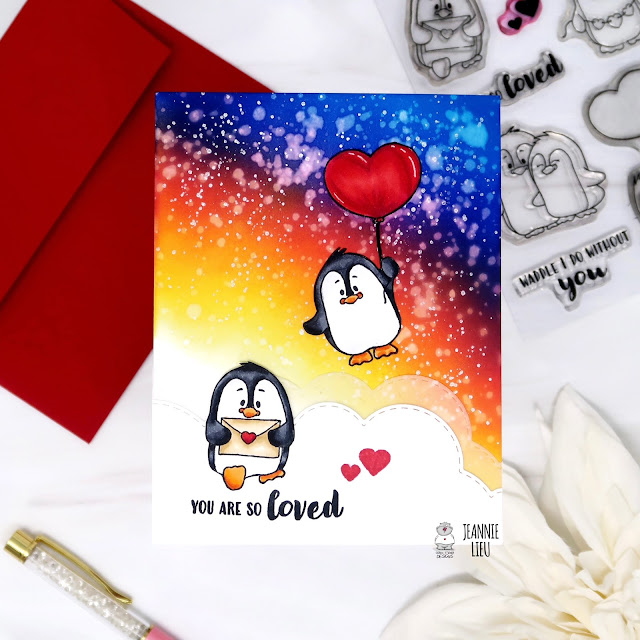
Hi everyone, I am Larissa from Car-d-elicious and today I am posting a new card on the blog from Gerda Steiner designs. For this week I have made a valentines card with the clear stampset Valentine penguins from Gerda Steiner designs. I have stamped 2 penguins with Versafine clair nocturne ink on Florence watercolour paper smooth from Vaessen creative. I have embossed the image with clear embossingpowder and then I coloured them with my Distress inks. The balloon and the envelope are also coloured with the Clear Spectrum noir sparkle glitter pen. All the images are fussy cut.

I have made a slimline card with the new die-set Slimline frames craftables (CR1537) from Marianne design. I have cut the scalloped layer twice from pink cardstock and made a card. The layer with the stitching is cut from white cardstock and I made my background on it with the Mini cloud edges stencil from My favorite things and Card deco essential dye ink Light blue. With the Grassy hills die-namics from My favorite things I have die-cut a grass border from white cardstock and I have coloured it with Card deco essential dye ink Olive green. After I glued the grass on the background I have wrapped white embroidery thread around the grass and tied it into a bow. I have glued the background on the pink scalloped card. In the right upper corner I have stamped sentiment from the clearset Valentine penguins from Gerda Steiner designs and then I glued the penguins with foamtape on the card. I have decorated the card with crystal hotfix gems.

*********************************************************************************
STAMP: Valentine penguins from Gerda Steiner designs
COLORING MEDIUM: Polychromos pencils
PAPER: White and pink cs
INK: Versafine clair nocturne
DIES: Craftables CR1537 from Marianne design, Grassy hills die-namics from My favorite things
ACCESSORIES: Clear embossingpowder, Clear Spectrum noir glitter sparkle pen, Mini cloud edges stencil from My favorite things, white embroidery thread, crystal htotfix gems
I am a participant in the Gerda Steiner designs Affiliate Programme. This means that if you click on one of my links and subsequently make a purchase, I will receive a small commission of store credit, at no extra cost to you.