
Greetings everyone! It's me again, Jessie Scott (@chevy.scott on IG), Guest Designing for Gerda Steiner Designs!

Today I'm sharing a hand-made easy interactive card using The Nutcracker set. This one is a birthday card! I have a niece that is taking ballet and I thought she would love getting this card.

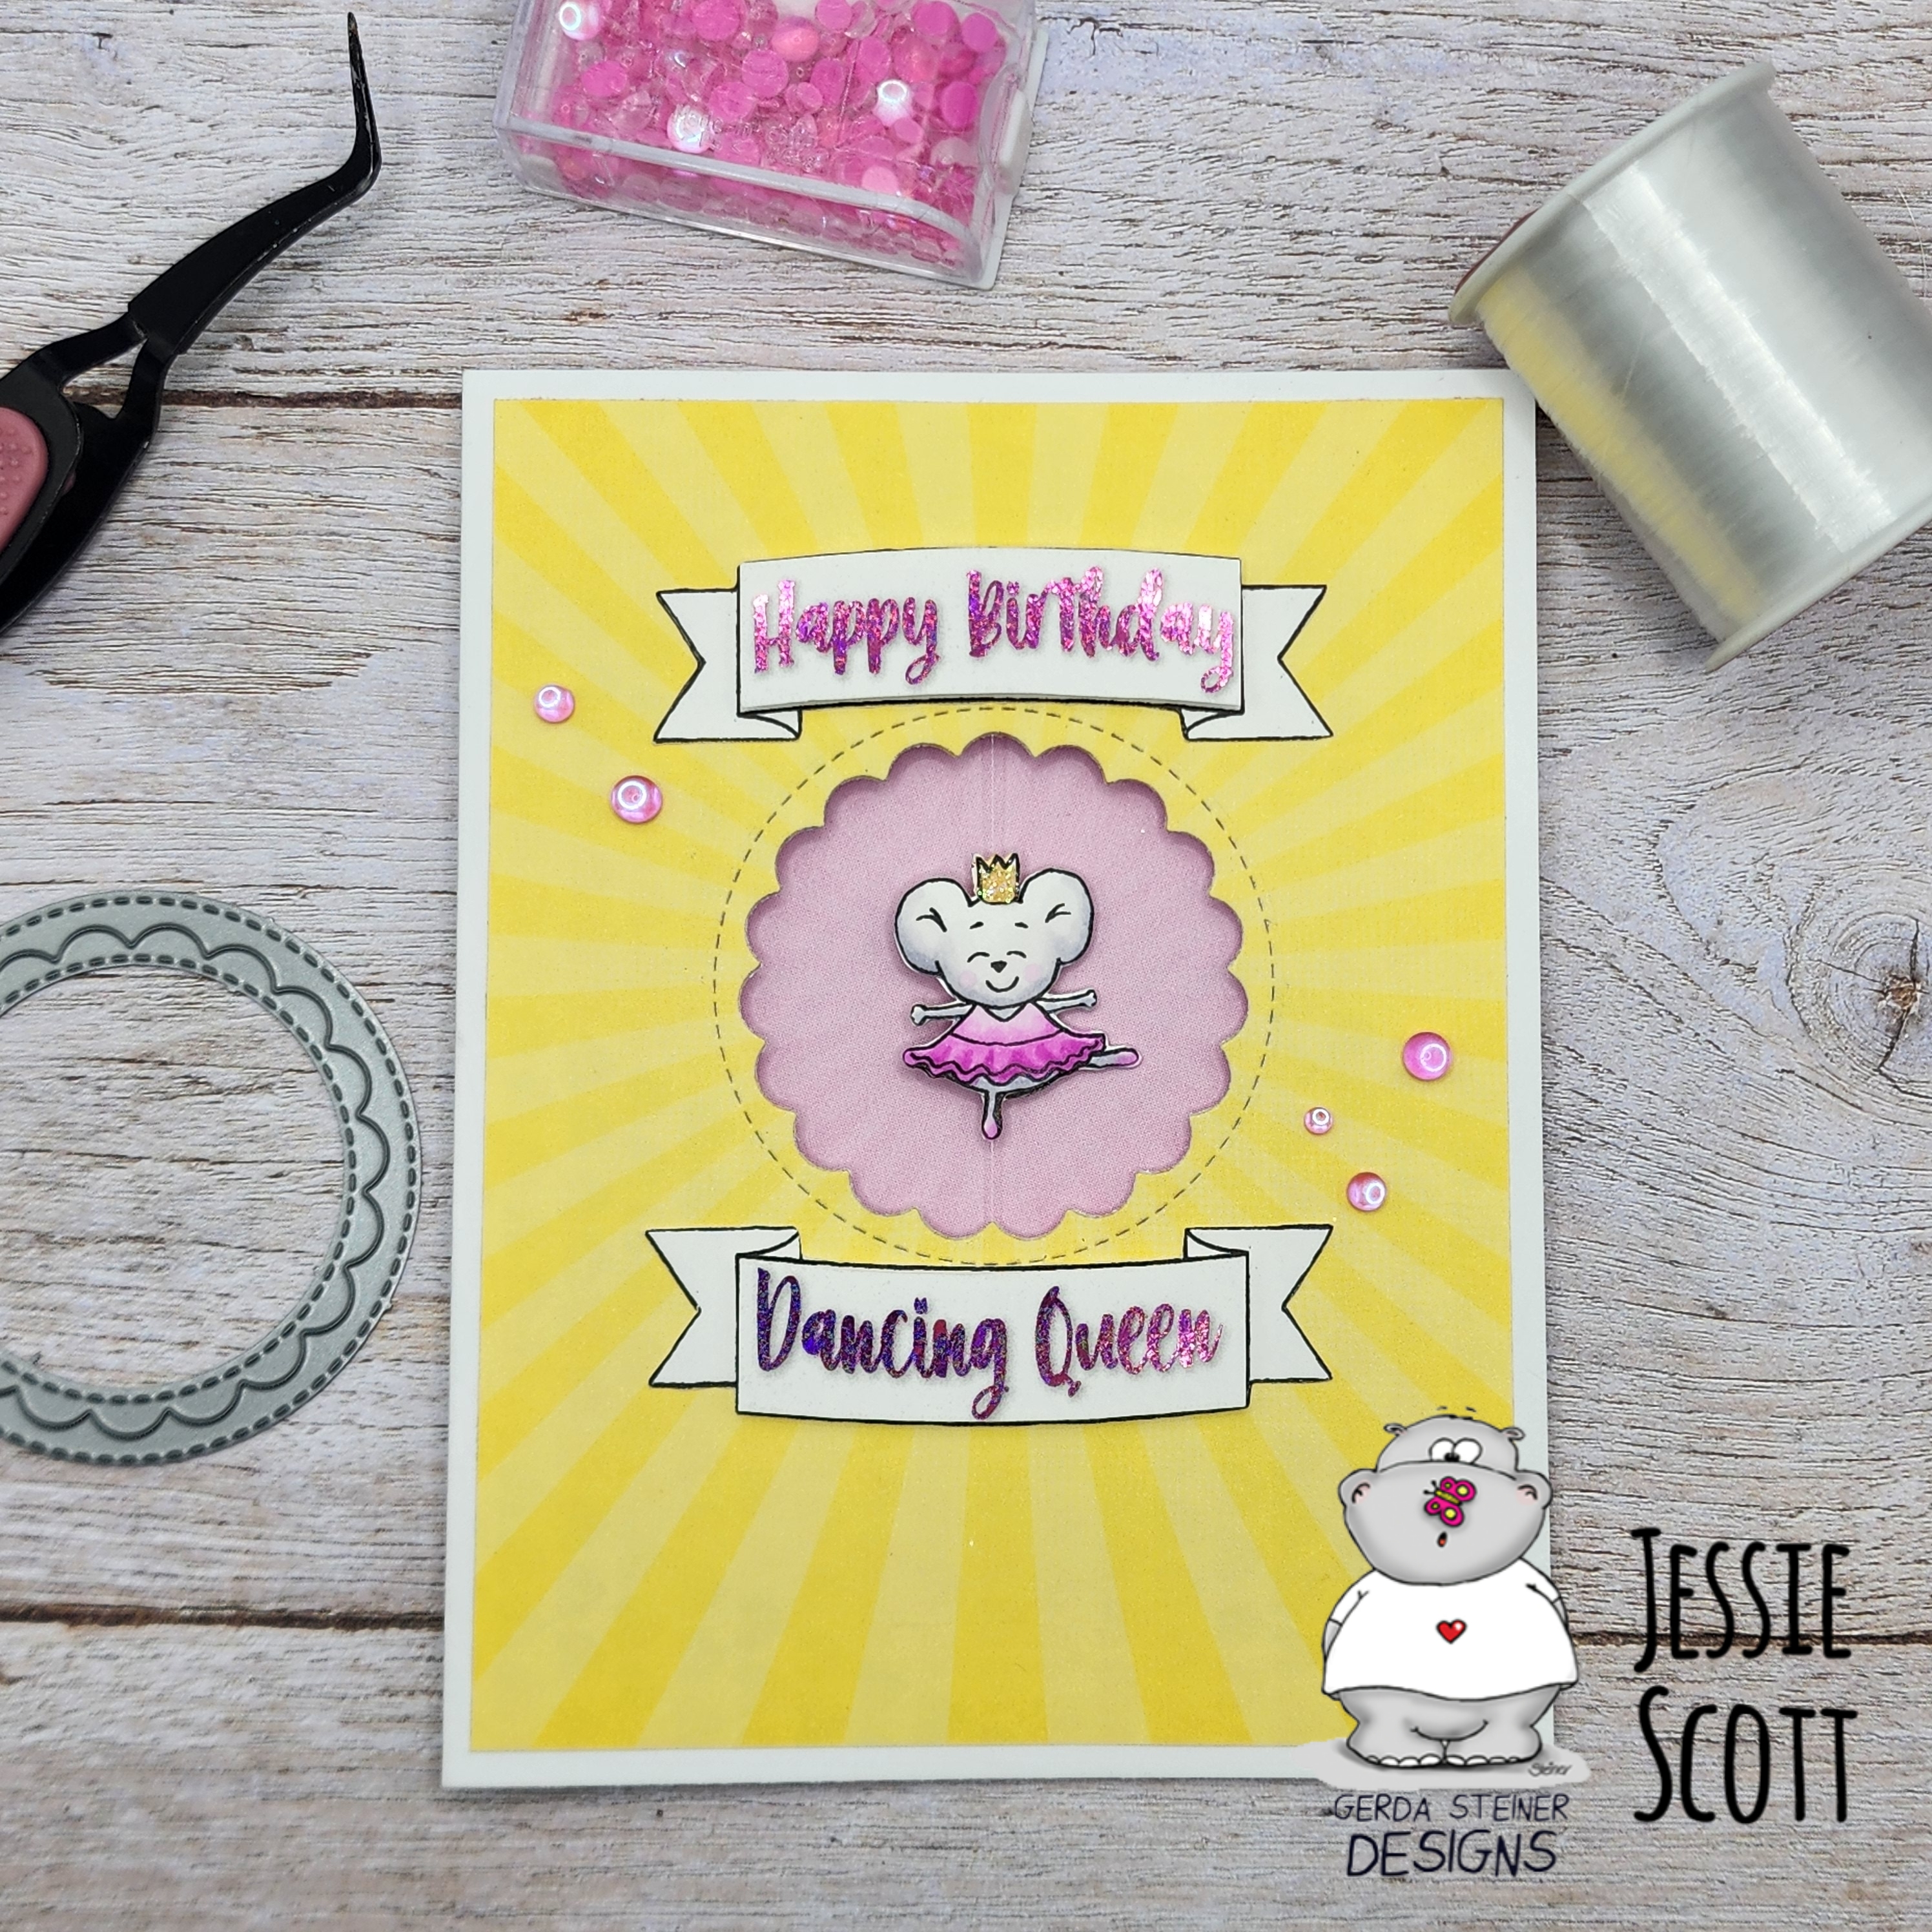
To make this interactive card, I used some nylon thread, a die cut window (this one is Lawn Fawn "Outside In Stitched Scalloped Circle Stackables" in Sunny Studio "Spring Sunburst" 6x6 paper), and a perfectly mirrored stamp image.

Did you notice that there is a matching FRONT and BACK to one of the cute mice in The Nutcracker set?
This is what gave me this idea! (you don't HAVE to have a symmetrical stamp set to do this, you can just stamp on both sides of a circle or other symmetrical shape and follow along as well!)
Let's start with the video so you know what we're trying to make it do! I also have a tutorial download for a generic spinner card on my blog here.

You may have noticed The Nutcracker set does not have a "Happy Birthday" or "Dancing Queen" sentiment.
If you have another set, you can curve the photopolymer stamp to fit the banner that comes with it.
OR... if you have a printer, you can do what I did and print one to fit!
I stepped it up a little further with a LASER printer and then I toner-foiled the sentiment. One card uses pink glitter stars and the second is gold glitter circles.

I wanted a 3D effect with the banner, so I trimmed out the printed sentiment and popped it up on foam tape to mount on the banner.
Following my directions from my blog, I cut out the window in the top designer paper and the card base top. Flip over the designer paper and tape on the nylon thread (I flipped my thread end back over the edge of the tape and taped again to hold down the thread)


I glued down the top designer paper down to the card base (so the thread is sandwiched between the layers). I placed the image of the back of the mouse UNDER the thread, inside the card. I lined it up with glue dots with the thread down the center and added glue to the edges.


Then I topped with the front of the mouse! I thought a "queen" still needed a crown and there wasn't one on this character. So I trimmed off one from another stamped image from the set. I covered with glue and dipped in my fine glitter. I added two, one front and back, sandwiching the thread as well.


Once of the cards I placed another piece of starburst paper, but for the other one I thought I would reuse one of the cut centers and have a fun sunburst on the inside.


Hope you enjoyed this fun interactive! So much fun and easy to make!
See you again soon!

No comments:
Post a Comment
Thank you so much for taking the time to leave a comment!