Showing posts with label Copic no-line coloring. Show all posts

Sunday, January 23, 2022

Be Mine Monster

Hi everyone! It’s Jeannie (InsideoutJeans) on the blog today with Gerda Steiner Design’s stamp set named, Be Mine Monster. This little monster is so adorable -- I just had to use him right away.
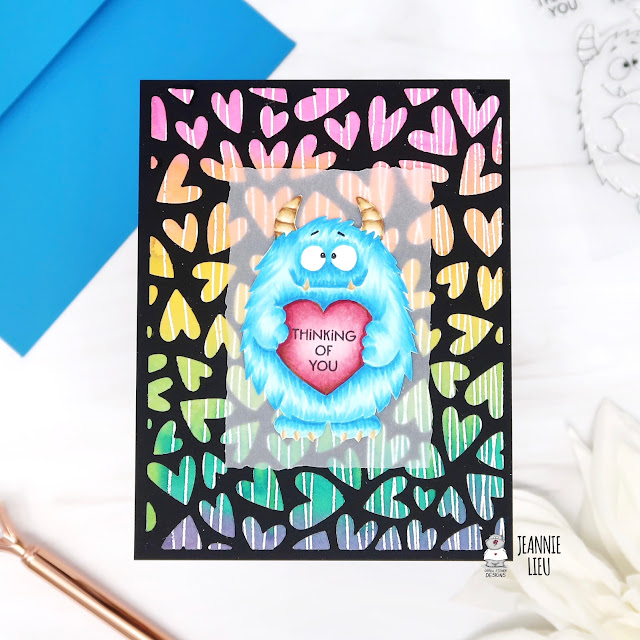


I stamped him out using Fadeout Ink and colored him using copic markers. I used Fadeout Ink because when I first saw him, I imagined him to be furry so I wanted to create that texture without a dark outline. The no line coloring ink helps to support the texture. He's definitely the focus of the image. This little stamp set has coordinating sentiments that fit perfectly in the heart he's holding.
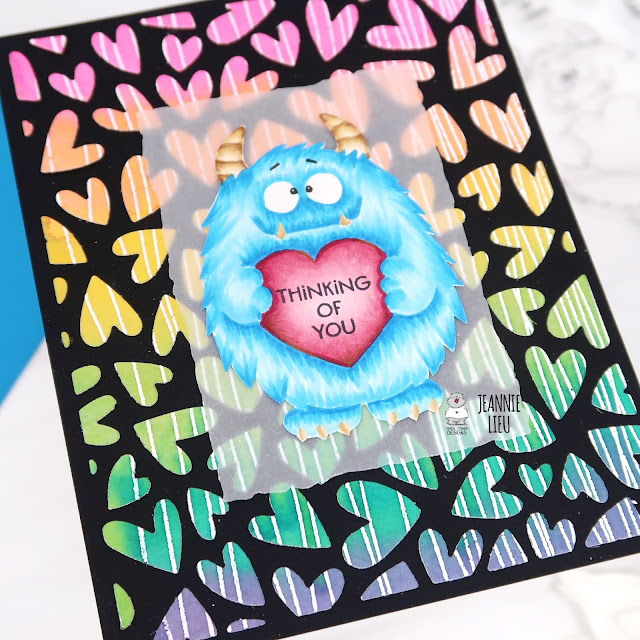


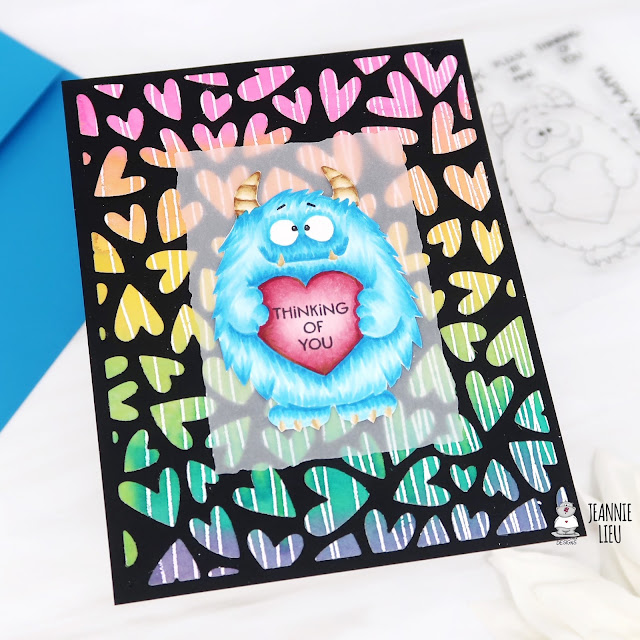
For the background, I wanted to go with something colorful and lovey. I pulled out a heart die cover plate and die cut out a watercolor panel I had. It was a bit colorful, so I did die cut out a piece of vellum to soften the background so the little monster could stand out.  


Thanks for stopping by today and I hope you get inspired to create. Come back again soon for more inspiration and ideas! Happy Crafting! 

 

Sunday, March 8, 2020

Happy Bee-Day!

Hi everyone! It’s Jeannie (InsideoutJeans) on the blog today with a preview of a new stamp set one of Gerda Steiner’s newest stamp set named, Happy Bee-Day. It'll be releasing in a couple of days on March 11. 


When I saw this set, I thought that it was already perfectly laid out for a card already and that's how I decided to create this card. I stamped these out using a no-line ink and colored them with Copic markers. Lately, I've been really into the no-line coloring and I really like how soft it looks.

I originally was going to have this card as an one layer but with no-line coloring, it was harder to mask. I decided to cut out the images with a thin white border.


For the background, I decided to use a bunch of distress inks for a sunset feel. I just love how it turned out and how it makes the flowers and the bee pop.


To finish off the card, I stamped the sentiment and the little bee trail using an embossing ink along with embossing powder. It made both of them really pop!


Thanks for stopping by today and I hope you get inspired to create. Come back again soon for more inspiration and ideas! Happy Crafting! 


Saturday, April 6, 2019

Just Chicken In!


Happy Saturday! I’m sharing a card today using the brand new Chicken Scratch stamp set. These stamps are SO super cute and funny!

I just love their expressions!


For this one, I started by stamping and masking the chickens using a light gray Copic friendly ink. I also cut a piece of eclipse masking tape for the ground under them.

I used a light gray ink and a chicken wire stencil for the background and then colored up my little scene with Copics and some colored pencil details.


I’ve combined a punny sentiment from this set with the “hey friend” sentiment from the Foxes stamp set. I liked the look of the different script together and it fit the space just right. I’ve heat embossed them with black embossing powder.

I added a strip of patterned paper at the bottom to ground the scene and add some extra interest.


Hope you have a great crafty weekend and see you again soon!

Friday, March 22, 2019

Wishing You a Very Happy Easter

Happy Friday! It's finally Spring!! Easter will be here soon and I just love this bunny from the new Easter Bunnies stamp set.

First, I created a background for the bunny by die-cutting a large egg and inking a few clouds and grass with Distress Inks.

For a little extra interest, I adhered the egg to a piece of white cardstock slightly overlapping the edge and then die-cut using a stitched rectangle die.

I stamped and masked 2 eggs and the bunny from the stamp set in a light gray ink and colored them with Copics. Since I used the no-line coloring technique, I was able to easily cover the crack line in one of the eggs by coloring stripes over it.


I fussy cut around the images, but there are coordinating dies to this set available as well.

To finish, I stamped the sentiment from the set in Versamark ink, heat embossed with black embossing powder and added some grass and shadows to the scene with Copics.

Hope you have a great weekend and see you again soon!

Friday, March 1, 2019

Thank You For Being You!


Happy Friday! Cathy here sharing a little Spring sunshine on this 1st day of March using these adorable little bunnies from the new Bunny Friends stamp set now available.

Aren't they the sweetest?!


I just fell in love with this stamp the minute I saw it. I immediately thought of coloring them with a very soft look so I went with no-line Copic coloring to help achieve this.

I stamped the bunnies in a light gray Copic friendly ink and then masked them before Copic airbrushing a radiating rays stencil with YR61. 


I love big bold die-cut fonts and this Spellbinders "thank you" phrase really jumped out at me as a good match to the bunny scene and the Gerda Steiner sentiment stamp in this set.

I die-cut the phrase 3 times from cardstock and layered them together for extra dimension.


They just make me smile! 

Hope everyone has a great weekend full of sunshine and happiness!