Showing posts with label Bunny with Glasses. Show all posts

Monday, February 15, 2021

Bunny with glasses


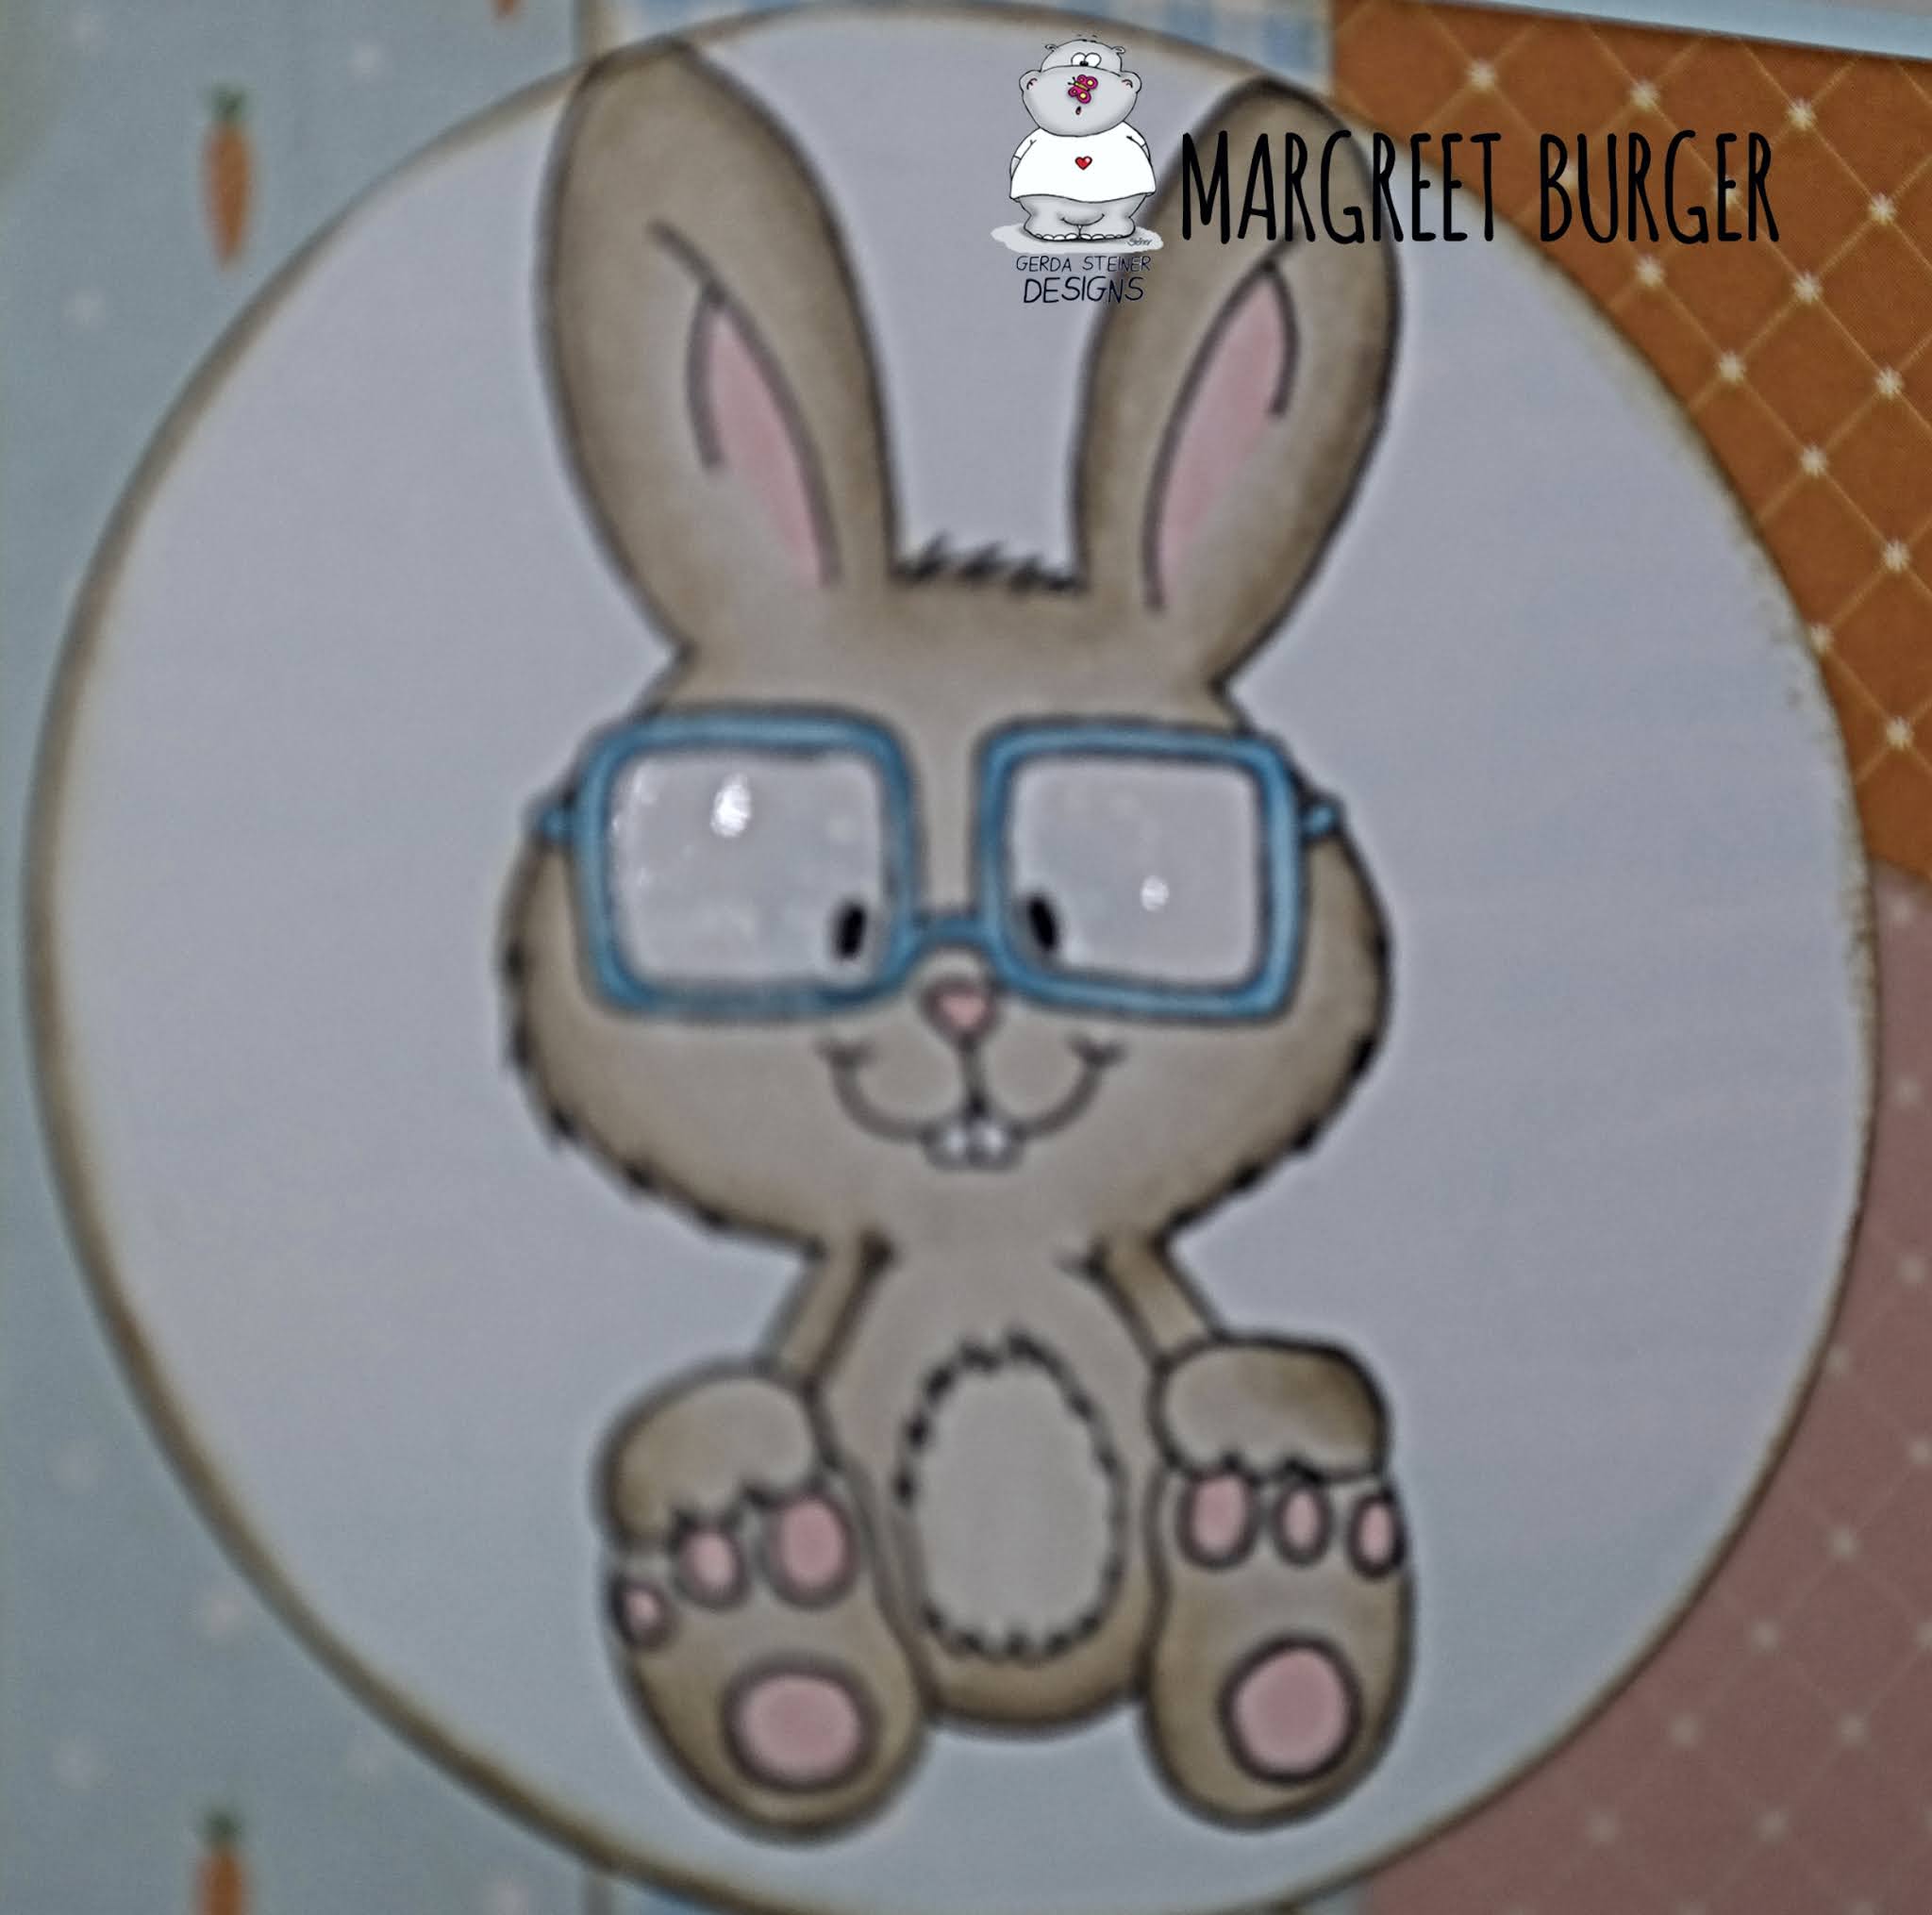
Hello, Margreet here, showing you a card with the cute digistamp Bunny with Glasses from Gerda Steiner Designs. 
Colored with copic markers and I put some Glossy Accents on the glasses.
All edges are distressed with vintage photo distress ink.
Circles are made with dies from Crealies and Nestabilities. One circle is die cut out of vellum.
Banners are made with Die-namics dies.
Some rhinestones to finish it off.
Hope to have given you some inspiration with this cute bunny.
Have a great day!
xxx Margreet

Wednesday, April 22, 2020

Bunny with glasses (digital stamp) - Hello - Larissa


Hi everyone, I am Larissa from Car-d-elicious and today I am posting a card with the digital stamp Bunny with glasses from Gerda Steiner designs. I have coloured the image with my Polychromos pencils, the black glaze pen and a white gelpen. I have fussy cut the image.


With the Crea-nest-lies XXL 36 from Crealies I have die-cut a rectangle from rainbow patterned paper from the Really rainbow petite paper pack from Lawn fawn. I have also die-cut a scalloped rectangle from black cardstock with the Crea-nest-lies XXL 56 from Crealies. I have glued the rectangles on a kraft card. Then I glued the image with foamtape on my card. I have die-cut the word Hello with Alphabet dies from Action. The card is decorated with black hotfix gems. 


*********************************************************************************
STAMP: Bunny with glasses from Gerda Steiner designs
COLORING MEDIUM: Polychromos pencils
PAPER: Kraft and black cs, Really rainbow petite paper pack from Lawn fawn
DIES: Crea-nest-lies XXL 36 & 56 from Crealies, Alphabet dies from Action
ACCESSORIES: Black glaze pen, white gelpen, Black hotfix gems

I am a participant in the Gerda Steiner designs Affiliate Programme. This means that if you click on one of my links and subsequently make a purchase, I will receive a small commission of store credit, at no extra cost to you.

Thursday, April 25, 2019

Video: 3-D Critter Scene

Howdy all!  Happy Thursday!  It’s Allison Cope here today to share a very simple tutorial on how to make your little critters (or any other images) POP!

The key ingredient to this technique today is Olba glue. It’s a thick, clear glue with lots of body.  It allows you create a 3-D backer for your fussy cut images to pop up.

Today my card features the adorable “Monkey Hanging in There” and the “Bunny with Glasses” digital stamp sets.

So come and join me at my desk and we’ll go get creative with digital stamps and Copic Markers!

https://www.youtube.com/watch?v=_GCJWUSAU2E&feature=youtu.be

Here’s a look at our card once again…

And here is a close up of our bunny (photos don’t do this justice!)

And here is a closer look at the monkey as well…

Thanks for joining me today!  I hope you too get to try adding some more dimension to your card creations sometime soon.

~ Ally ~


stamps: GSD (Monkey Hanging in There, Bunny with Glasses)
patterned paper: Echo Park Paper Co. (Imagine That! 6x6)
cardstock: Recollections (65# White)
tools: Copic Air Brush System
inks: Copic Markers
3D glue: Olba Glue