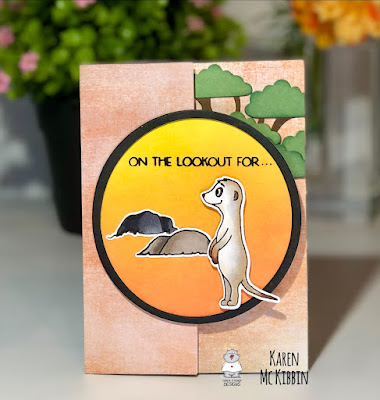
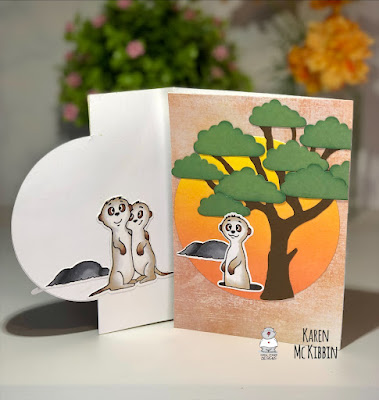
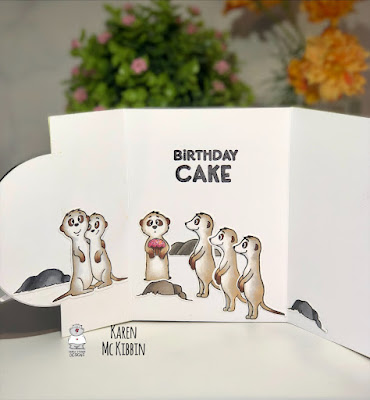
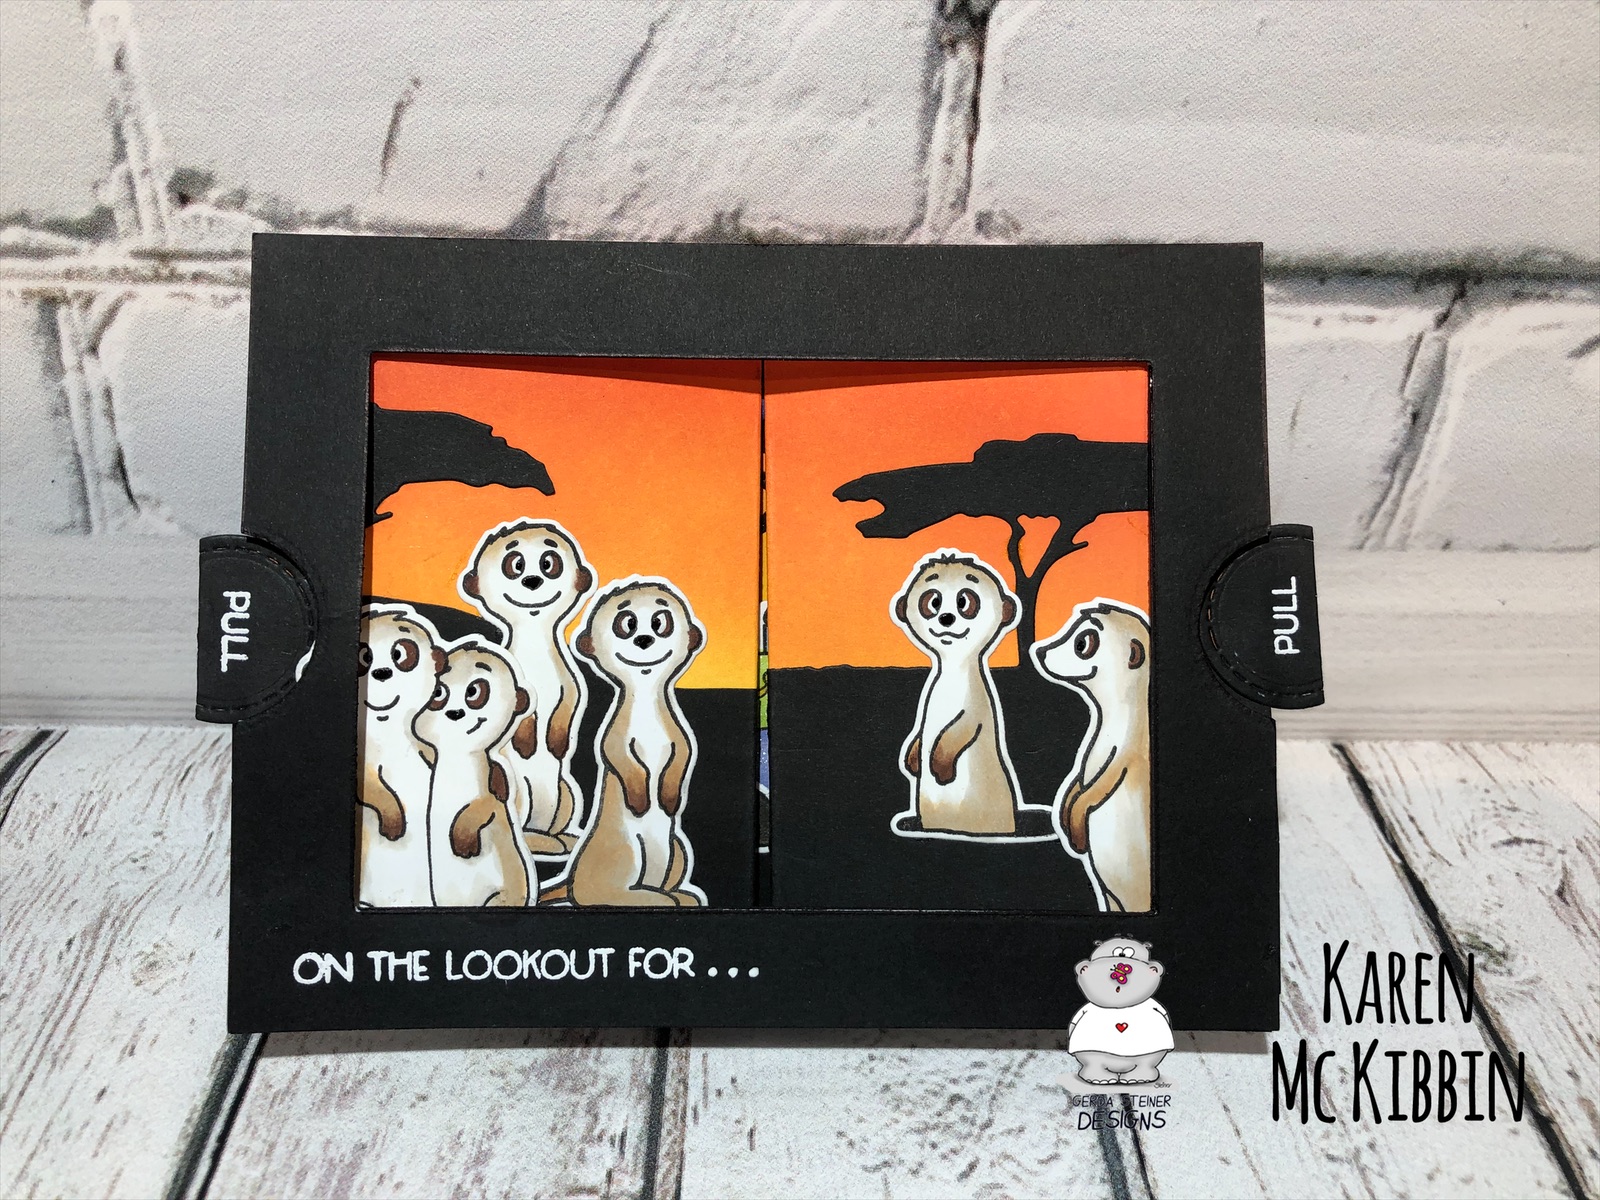
Hello and welcome! It’s Karen here and today I’ve made a theater fold style card featuring Meerkats on the Lookout from Gerda Steiner Designs. I don’t usually make Halloween cards but wanted to do a fall colours card so this is what I came up with.
I’ve made a video of how to construct this card and it’s probably the easiest way to figure it out. If you would like to see the video in HD, PLEASE CLICK HERE.
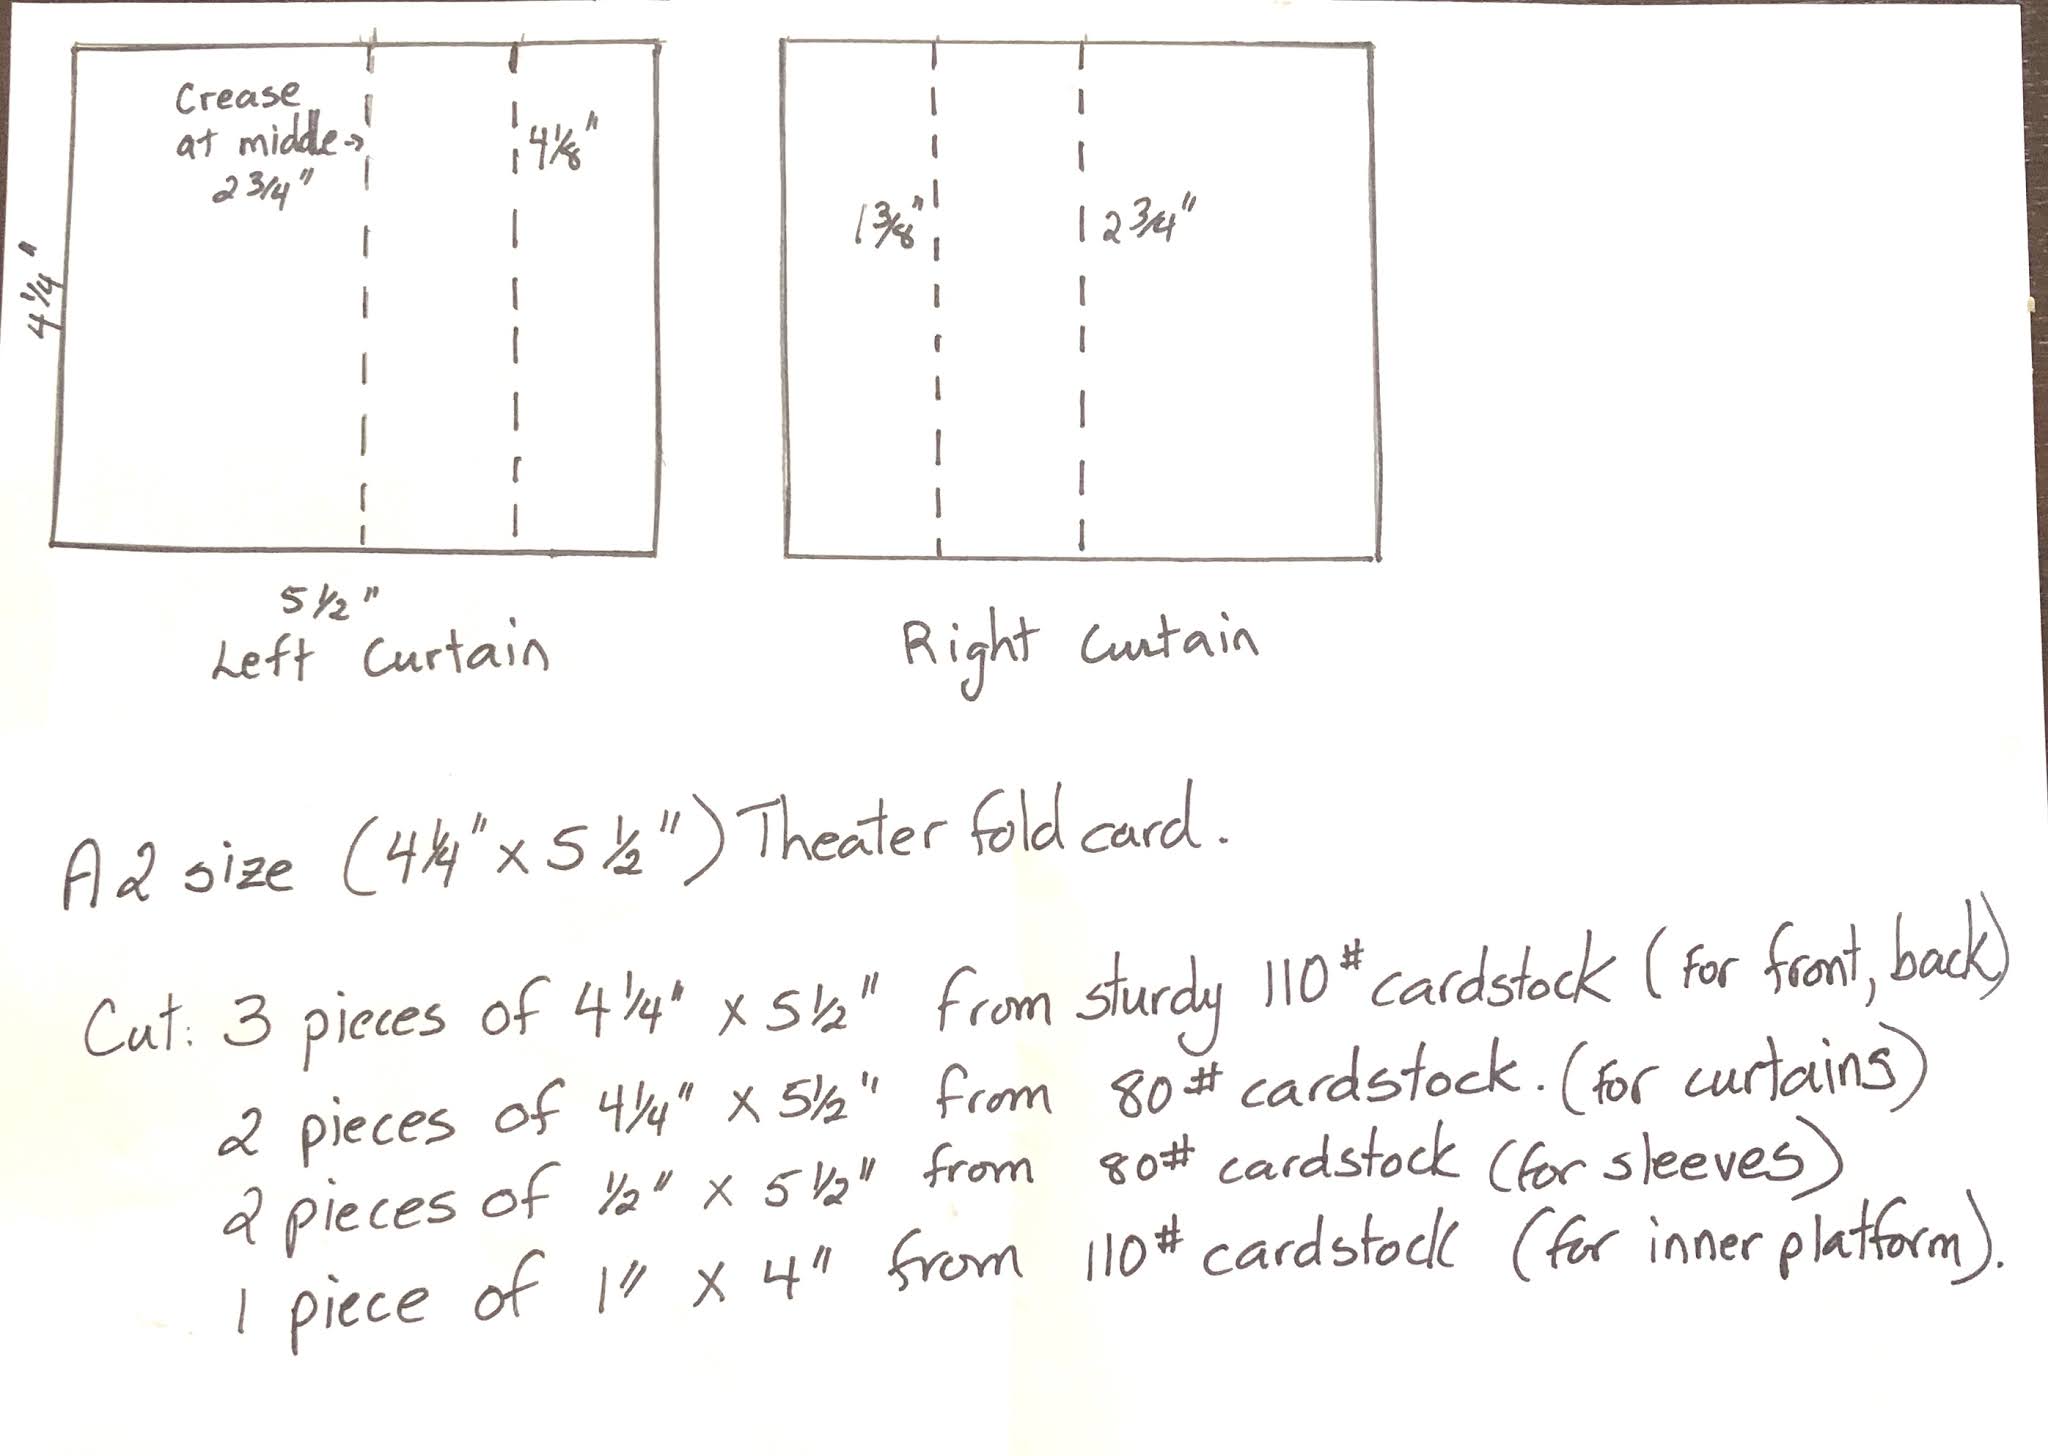
Here’s a list of the pieces of cardstock used and a diagram of where to crease the curtains.
I started by assembling the front first. I die cut a rectangle from two of the white 4 1/4 x 5 1/2” pieces of cardstock as well as a black piece and then glued these together. I cut a notch out of the side edges, using a small circle die and partial cutting. I white heat embossed the sentiment and added the three dots with a white gel pen. I folded and creased the two sleeve pieces so they fit along the side edges and glued them in place on the back, making sure they weren’t too tight. I trimmed the sleeves around the notches so it would be easier to grasp the curtains.
For the back and curtains, I ink blended using Distress Oxide inks in Mustard Seed, Spiced Marmalade, Ripe Persimmon, and Candied Apple. I used a die from Find IT Media called Amy Designs Wild Animals Outback, and partially die cut this from black cardstock to fit along the lengths of all 3 pieces of cardstock.
I trimmed the two curtains just slightly along the 5 1/2” edge so they would slide more easily through the sleeves on the front. Then I creased and folded the curtains at 2 3/4” and 4 1/8” for the left curtain, and at 1 3/8” and 2 3/4” for the right one. Finally, I glued the black die-cut silhouette pieces to the curtains and back and creased along the fold lines.
I used glue to attach the curtains to the back piece, being careful to only apply glue to the first folded area on the curtains and to try to keep the center fold of the curtains together. Really, the glued area of the curtains should line up along the side edges of the back with the ink blended sides together, but I found it more important for the folded curtains to match in the center.
I cut a second platform piece from black cardstock and glued the two pieces together. I cut slits in both curtains at the same distance, wide enough for the platform piece to pull through. I made stoppers by using pieces of narrow scrap cardstock and gluing these to the ends of the platform so it couldn’t pull through. Next, I stamped the inside sentiment and clear heat embossed it.
To assemble the card, slide the left curtain through the sleeve on the back of the front piece, and the right curtain through the other sleeve. I added pull tabs to the curtains by folding a small strip of black cardstock and used the same circle die to cut them out. Now all that’s left is to just add your images. Oh, and to play repeatedly with opening and closing the curtains! Thanks for stopping by and I hope you’re having a great day!