Showing posts with label Lisa Lahiff. Show all posts

Saturday, September 1, 2018

Turtley Awesome!

Hello!  It's Lisa Lahiff here again, and I am so very honored to be Guest Designing here with Gerda Steiner Designs!  I can never tell you enough just how much I LOVE the adorable critter stamps that can be found in the store, and the one I'm working with today (Turtley Great) is no different!


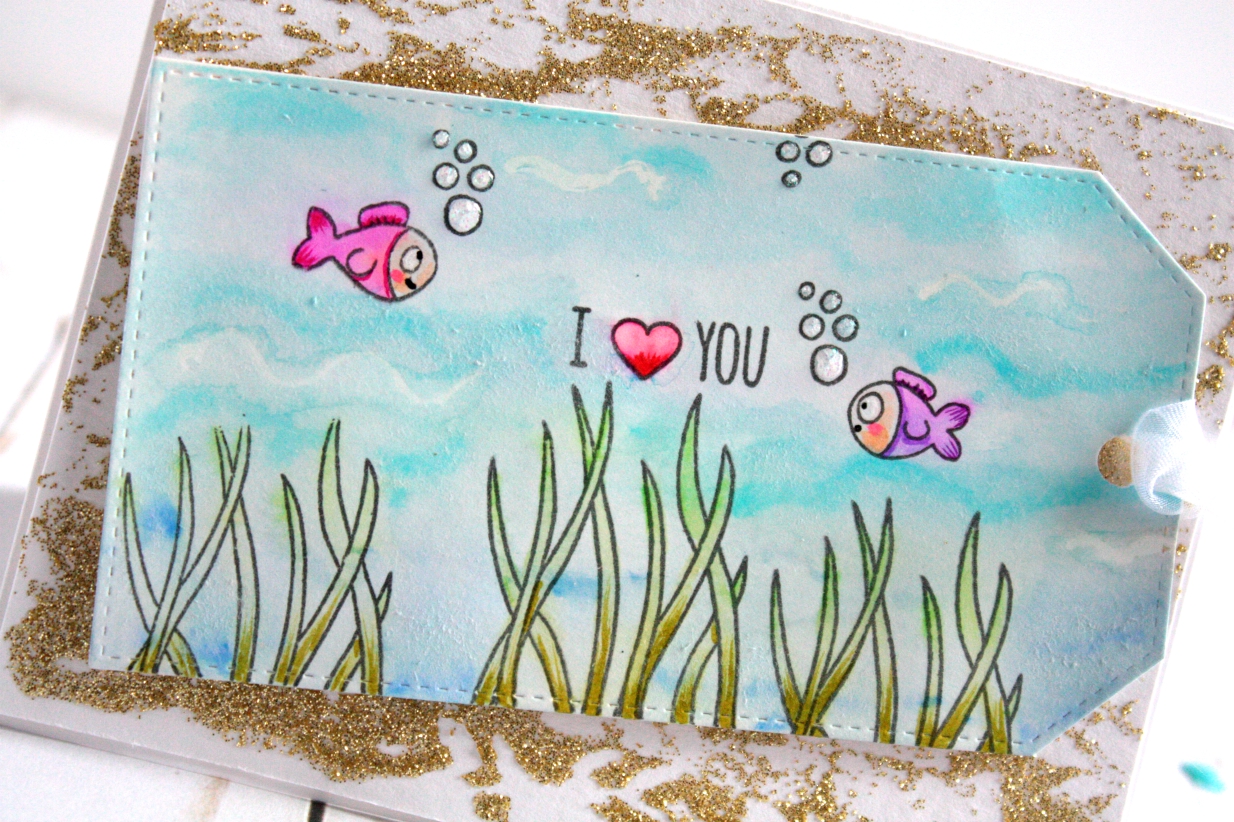
To create this card I started by stamping my turtle and sentiment with Versafine ink onto watercolor cardstock.  Next, I spritzed some colors onto a piece of plastic, I like to keep packaging from stamp sets specifically for this technique. I then laid my cardstock stamped side down onto the ink and smooshed it in.  I would let it dry before smooshing the colors again.  I still wanted my turtle to have some set green so once it was all dry I went over the turtle with my Spectrum Noir markers.  I then adhered my panel onto various strips of patterned paper and finished it with a few glitter enamel dots.


Thanks so much for stopping by today!  I hope I've inspired you to maybe try a new technique or add coloring to your smooshing :).  And don't forget to check out the new sets coming to the store, I already have my eyes on the cute new ghosts!

Happy Crafting!
Lisa

Friday, August 10, 2018

Turtley Great Day

Hello crafty friends!!!  It's Lisa Lahiff here today, and I'm so excited to be back on the Gerda Steiner Designs blog sharing a sweet shaker card with all of you that uses the Turtley Great Stamp Set.  I know you have all been introduced to these adorable new guys, and now it's my turn to show you just how fun this set can be...


To create this card I started by diecutting and adding the shaker element to the cardbase.  I then stamped my sentiment along one of the diagonals.  The turtle and snail were stamped and colored on separate cardstock with Spectrum Noir Markers.  I then cut them out and added them to the front of my card.  A few rhinestones later and my card was complete!

Such an easy card to create, and one that will wow the recipient!  Win win!


Thanks so much for stopping by today and Happy Crafting!
Lisa

PS - I know this set is sold out at the moment, but you can add your email address and they will let you know when it's back in!  Plus you can check out the other new sets that are just as cute!

Saturday, May 19, 2018

Relax... Purrrfect Father's Day Card

Hello crafty friends!  It's Lisa here with you today and I have a super Clean and Simple card to share with you that I think would be perfect to use for this upcoming Father's Day...


To create the front part of my card all I had to do was adhere pattern paper, die cut a circle off the lower right corner and stamp the first part of my sentiment.  Next, I stamped the cute kitty from the On the Bookshelf Stamp set where the opening is and colored it in with Zig Clean Color Real Brush Markers.  I find these markers are some of my favorite for creating the look of thin wisps of fur.  To finish the card I stamped the second part of my sentiment on the inside of the card and tied some twine in a bow at the top.

Thanks so much for stopping by today and I hope you get a chance to check out all of the cute sets available at this time in the store!
Happy Crafting!
Lisa

Saturday, May 12, 2018

Have a Purr-fect Day!

Hello crafty friends!  It's Lisa, here today and I'm so happy to be back on the blog sharing another super cute Gerda Steiner set called On The Bookshelf.  The images in this set are so fun to mix and match to create different scenes, and the shelf idea is so unique!  Here's what I've created for today...


To create this cute little scene I started by first stamping the shelf, the accessories to go onto the shelf, and the mouse down below.  I knew that I wanted the cat to stand out more so I opted to stamp him onto a second piece of cardstock, colored him in and cut him out.  Coloring the entire back panel wasn't appealing to me, so opted to create a fun wall paper design instead.  I drew my baseboard and floor lines first and then used my Spectrum Noir Markers to added a random mix of dots all over the wall.  The sentiment I've used for this card comes from another cute cat set called Buckets of Love.  With a busy background like this one I didn't need to add any extra embellishments, and simply popped the cat up with foam adhesive.

Thanks so much for stopping by today, and I hope you'll get a chance to stop by the store and see the new cute sets that are being added all of the time!

Happy Crafting!
Lisa

Sunday, January 21, 2018

Manatee With Alcohol Ink Background

Hello Gerda Steiner Fans!  It is Lisa back today with a cute card that features the newer Oh Manatee Stamp Set and an alcohol ink background.  This was my first time playing with alcohol inks, but when I started I automatically thought of the ocean, and new my cute little Manatee would be perfect!


To create my card I started with the Alcohol Ink background where I used a mix of dropping, blowing through a straw, and pouncing with a cloth to cover the entire panel.  While this was drying I stamped and colored my manatee and fish on separate cardstock.  I actually stamped the three different manatees in this set and colored them all in with various Spectrum Noir Markers before I finally landed on the one I liked best.  This is a great thing to do with a new set, with so many color options you might not know what you really like until you've tried a few.  I then cut all of my images out and adhered them to the alcohol background.  For my sentiment I stamped and embossed them both black cardstock with white embossing powder.


Thanks so much for stopping by and checking out my post today!  Make sure you head to the store to see what other new stamps are popping up!

Happy Crafting!
Lisa

Sunday, January 14, 2018

Some Fishy Love...

Hello!  It is Lisa Lahiff back today as a Guest Designer, and I'm so excited to get to share a project using the new Oh Manatee Stamp Set.  Now, I have to warn you that I went in a little direction with my project.  Rather than focusing on the large and super cute Manatee's in this set I decided to give the smaller stamps some love and the spotlight on my card...


To start I stamped my fish, sentiment, bubble, and seaweed onto Bristol Smooth Cardstock.  I then watercolored my images in with a mix of Zig Clean Color Real Brush Markers and a water brush.  Once these were dry I added some masking fluid to them, as well as created some wave like squiggles to the background.  I was then able to go over the entire thing with a mix of blue markers and a water brush, again leaving time for everything to dry before I slowly peeled off the masking fluid.  I decided to cut the scene into a tag shape and added some white ribbon to the top.  While I was trying various patterned papers behind my tag I came across an old panel of Embossing Paste that I had placed in my scrap pile, and I really loved the way it looked behind my fish so I gave it a new home on my card!


Thank you so much for stopping by today, and I hope my card has inspired you to take a closer look at those smaller images in your set and give them a little love too!  And check out all of the cute sets available now in the Gerda Steiner Store, so much love to go around! :)

Happy Crafting!
Lisa

Thursday, November 30, 2017

Stamped and Watercolored Background

Hello!  It's Lisa back today from Lisa's Creative Niche, and today's card features a fun stamped background created with the Reindeer and a Tree Stamp Set...


To create my card I started by stamping the tree in the center of my Bristol Cardstock and then stamped all of the decorations around it with a Versafine Ink.  I then used a mix of Zig Clean Color Real Brush Makers to color the images in, as well as a brush with water to pull the colors out.  Remember when working with watercolors to only work on one area at a time, so that your colors won't blend together.  Once the panel was dry I stamped and embossed the sentiment with white embossing powder, and adhered it with foam adhesive.


I also went back and added a touch of shine to my tree with a Clear Spectrum Noir Pen, because who doesn't love shine during the holidays?!

Thanks so much for stopping by today and Happy Crafting!
Lisa

Thursday, November 23, 2017

Reindeer Fun!

Hello!  This is Lisa Lahiff from Lisa's Creative Niche, and I'm so happy to be back as a Guest Designer.  It's been a while, but I couldn't wait to get crafty with some of the newer Gerda Steiner goodies, and in particular the Reindeer and a Tree Stamp Set...


I just love the reindeer faces!!!  So fun and each one different!  I also loved the idea of Santa reaching to put the star onto of the tree.  To create this card I started by stamping, coloring, and cutting out the reindeer and Santa.  Next, I worked on the background by stamping the tree and coloring it all in.  Finally, I adhered the reindeer, Santa, and the Christmas ornaments before going back to add snowflakes with a White Gel Pen.


Thanks so much for stopping by and checking out my post.  I hope you have a wonderful Thanksgiving with those you love!

And as always, Happy Crafting!
Lisa

Monday, February 27, 2017

Hoppiness

Hi!  It's Lisa Lahiff here again with one more card using those super cute bunnies from the Hoppiness Stamp Set...


 To create this card I first die cut the circles from my patterned paper.  I then used the negatives to trace onto my white panel so I would know where to stamp the bunny images.  After they were stamped I colored them in and added the patterned paper on top.  I wanted a little more dimension so I stamped and colored just their paws in and added these on top of the circle cuts.  I added the sentiment to a patterned paper strip, layered it up and stapled them together.  This was all then added to a black card base and finished with some bright sequins.

Thank you so much for having me as a Guest Designer, and I hope you've enjoyed todays post!
Happy Crafting!
Lisa

Friday, February 10, 2017

Somebunny...

Hi!  It is Lisa Lahiff here with you today, and I have a super cute bunny card to share with you today using the new Hoppiness Stamp Set...


To create this card I started by stamping the fence several times along the bottom of my panel.  I then colored this and the grass in with various Copic® Markers.  Next I stamped the critters onto a separate piece of card stock, colored them in and cut them out.  Before adding them along the fence line I went over the top part of the panel with distress ink and stamped my sentiment.  Once the critters were adhered on I added some flower sequins.

Thanks so much for stopping by, and don't forget to check this and other cute sets now available in the store!
Happy Crafting!
Lisa

Monday, February 6, 2017

Friends Fur-ever

It's Lisa here with you today and I have a super cute friend card to share with you.


To create this card I've used the Bucket's of Love Stamp Set again.  In my last two projects you saw me watercolor with this set, this time I've used my Copics.  I stamped, colored and cut out the kitties in the bucket.  I then layered it onto various patterned papers on my cardbase.  I also added my sentiment to some patterned paper.

I hope I've given you some various ideas on how this stamp set can be used for lots of occasions! Thanks for stopping by and Happy Crafting!
Lisa

Monday, January 30, 2017

Buckets of Love

Hello, hello!  It is Lisa Lahiff back here today, woot woot!  I have a sweet one layer watercolored card that I've created using the Buckets of Love Stamp Set.  Check it out...


To create this card I started by stamping the bucket of hearts image repeatedly on my front panel of watercolor cardstock.  Next I went in with my Gansai Tambi Watercolor set and went about making a rainbow of buckets.  I just love rainbows, and thought this would really brighten the card up.  I added my sentiment in the bottom right hand corner and finished the card off with some tickles and clear sequins.


Thanks so much for swinging by today, and make sure you grab the Buckets of Love Stamp Set just in time for Valentines Day!
Happy Crafting!
Lisa

Thursday, January 26, 2017

Have A Purr-fect Day

Hello!  It is Lisa Lahiff back here with you today and I have a super sweet new card to share with you today, using the newly released Bucket's of Love Stamp Set.  This set has some super cute kitties in it that are just begging to be colored and loved!


To create this card I stamped this cute kitty onto watercolored cardstock and used my Gansai Tambi Set to watercolor him in.  I then set this off to the side to dry.  Next, I stamped my sentiment onto a different panel of watercolor cardstock and added various colors to the background with a water brush and my Clean Color Brush Markers.  I dropped a few drops of pink spritz and heat set this.  I fussy cut out my cat image and diecut my panel before layering them together.  This was then added to my cardbase with a layer of foiled acetate and I added some hearts from my scrap pile.


Thanks so much for stopping by today and Happy Crafting!
Lisa

Friday, January 20, 2017

Shaking Love Up...

Hello and Happy Friday!!! It is Lisa Lahiff again and I'm back with one more cute card using the You're Koalafied Stamp Set, and this time I'm shaking things up...


To create this fun shaker I've used the You're Koalafied Stamp Set and Matching Dies.  I stamped all of my images onto separate cardstock and colored them in with Copic Markers before die cutting them out.  Next I created my shaker with patterned paper, acetate, sequins and foam adhesive.  I adhered the koala in the tree behind the first heart cut but in front of the acetate so it wouldn't get lost in a sea of heart sequins, ha!  Since the patterned paper had words all over it I didn't feel it needed a sentiment so I finished it off with a pink bow.


Thanks so much for stopping by today and Happy Crafting!
Lisa

Monday, January 16, 2017

Surprise HUG!

Hello!  It is Lisa Lahiff back here with another Guest Design Post, yay!  I just can't get enough of the super cute Koalas in the You're Koalafied Stamp Set, I mean come on, just look at this little guy...


And guess what else... he's back in stock! yay!!!  To create this card I started by embossing my heart onto the front of my Kraft card base.  I then stamped my little koala with Memento ink several times for a clean and dark image.  I also added the sentiment and smaller hearts at this time.  To make sure my colors would stand out against the kraft I used my PrismaColored Pencils, and more specifically I started by coloring the koala and heart in with my white pencil first and then added my colors over the top.

Now hurry and snatch this guy up before he sells out again!  And while you are there you have to check out some of the other super cute critter sets available!

Happy Crafting!
Lisa

Friday, January 6, 2017

Guest Designer: Coffee

Hello, my name is Lisa from Lisa's Creative Niche, and I am so honored to be Guest Designing here this month!  A huge thank you to Gerda and Macy and the rest of the team for welcoming me!  Today I am working with the super cute set You're Koalafied and it's matching die set...


To create this card I started by stamping the coffee cup image randomly onto watercolor cardstock and heat embossed it with a white embossing powder.  Next I sprinkled some product called Magicals that is activated with water.  After adding my colors I spritzed the entire thing with water and let the colors swirl and mix, setting it off to the side to dry.  I then stamped the koala and coffee cup onto Neenah Solar White card stock and colored them in with my Copic® Markers (C0, C1, C3, C5, C7, R20, V20, V22).  I then used the matching die set to cut the images out.  On separate card stock I stamped my sentiment and used a border die above and below it leaving space to adhere my koala and cup to the right.
Once my background was finished drying I was able to layer it all together, popping the sentiment and koala up with foam adhesive and adding pink glitter tape above and below it.


Thanks so much for stopping by today and I hope to see you back here later this month!
Happy Crafting!
Lisa