Hello friends,
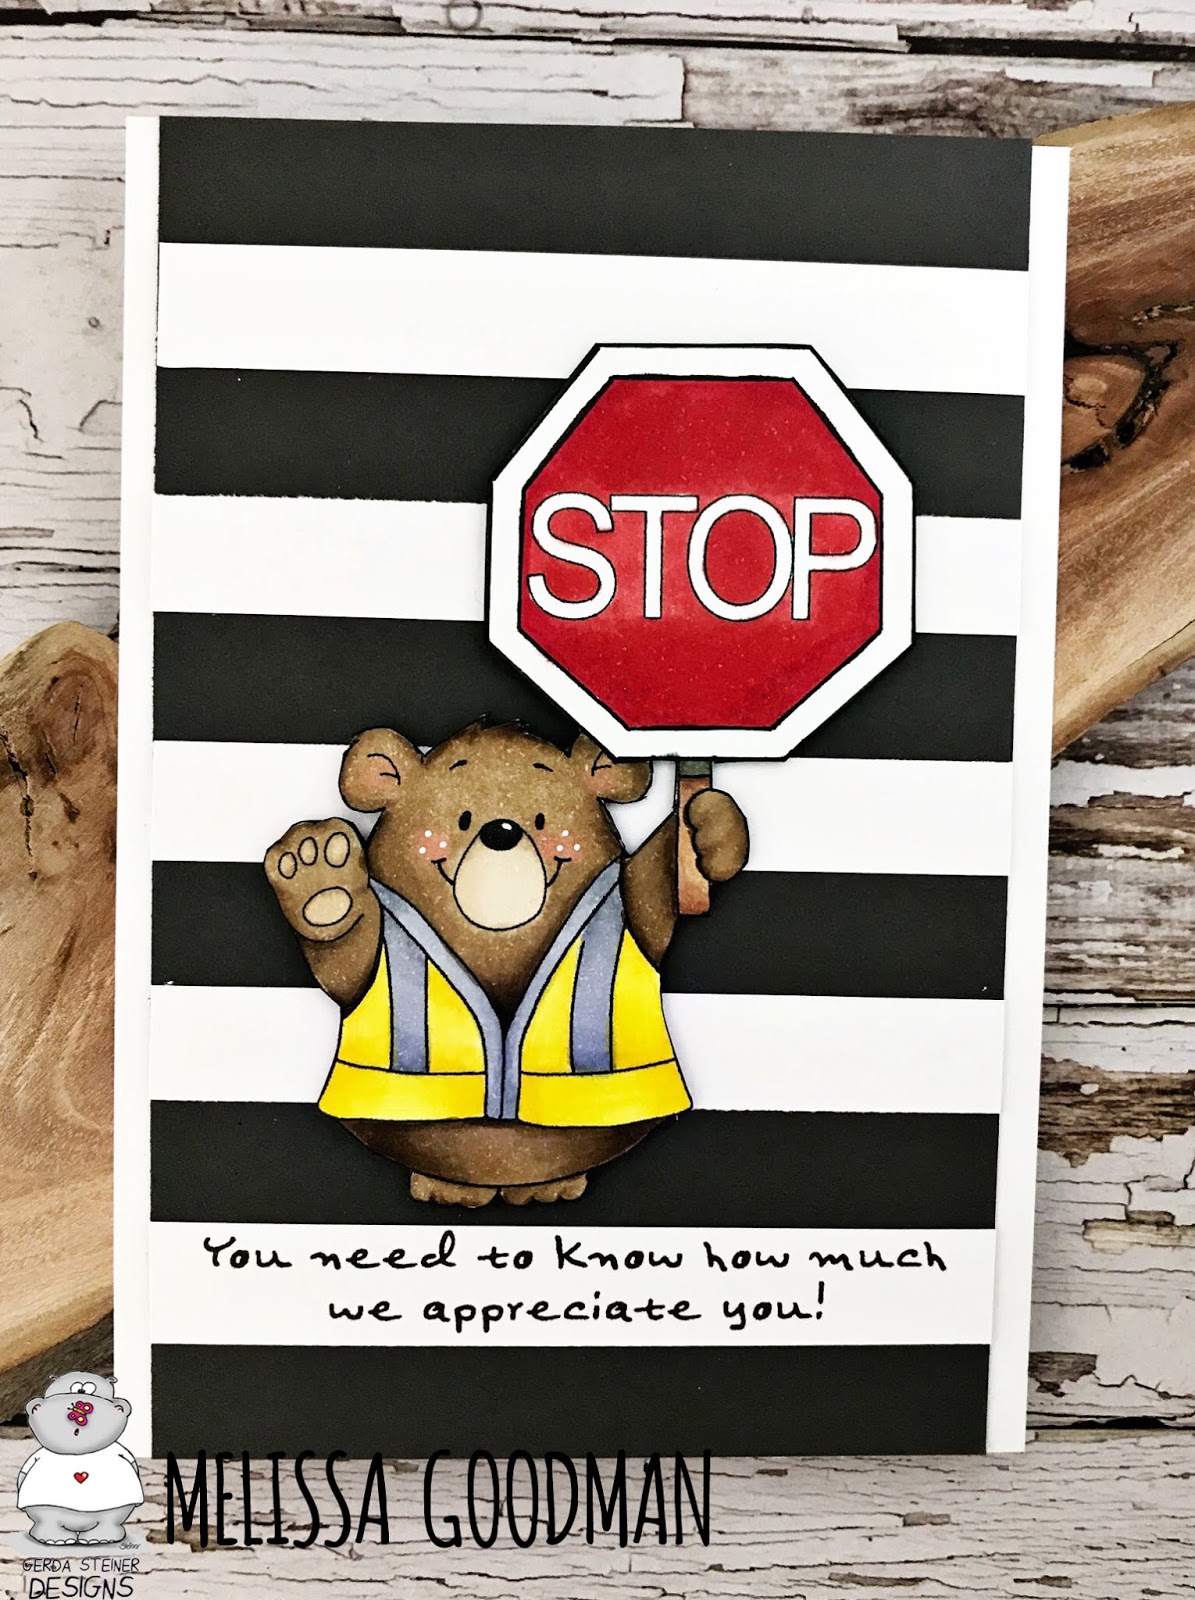
Karla here today with two adorable cards as special thank you's for the Crossing Guards at our school. We are so thankful for them, keeping our kids safe every day, and the FREEBIE
Crossing Guard Digital Stamp from the Gerda Steiner Designs Shop was the perfect image! When you download this image you also get a printable with a perfectly sized image for the outside of your card along with a sentiment for the inside. I printed two of these out on one sheet of 8 1/2" x 11" cardstock.
I coloured this image with Copic Markers and added white gel pen for highlights. Paper from Shimelle's Sparkle City collection was a great background for both cards, and a few stars cut from glitter cardstock adds just a touch of bling!
Inside, I used the pre-printed sentiment from this digi set and added another little star.
The second card uses a different background paper, and I actually coloured it with the Paint program on my computer. This would be a great way to pre-colour and make several cards quickly and easily! I took a few Copic Markers to add a tiny bit of shading around the edges and added a few white gel pen highlights.
Thanks so much for stopping by! Be sure to head over to the
Gerda Steiner Designs Shop to see what fun things you can find today!!
Hugs, Karla