
Hello and welcome, it’s Karen here today. I’ve got a very textured, embossed Christmas card to share with you today. This card was completely inspired by my recent re-organization of my embossing folders!

I’ve got a YouTube video of how I made this card, so to see it in HD please CLICK HERE
I stamped the Santa image from the “Peeking Friends” stamp set from Gerda Steiner Designs and pencilled in the rest of his beard. I used a Copic multiliner pen to go over it and erased the pencil marks. Then I coloured my image with Copic markers (listed below) and fussy cut it out along the lines. I used a black marker pen from EK Tools to colour along the edges.
Next, I diecut the word Joy from white cardstock. If you have a nice green cardstock or glitter cardstock, that would be even easier. I was given this die several years ago and it was second hand at the time, so I don’t have the product information to give you. But any large Joy or Noel die would work here, even alphabet letters. I had to do some partial die cutting on the “O” to make it wide enough for Santa to not obscure the “Y”. I coloured the word in with a Copic marker, and went along the cut edges too. To add some interest to the word, I heat embossed it with clear embossing powder and sprinkled some glitter on while it was still warm. I did this 2-3 times for even more depth.
When I reorganized my embossing folders, I die cut tags and embossed those to use as a reference for all my folders. The tags were so pretty and full of texture, that it inspired me to make this card. I cut out 12 - 1 1/4” squares from white cardstock and then used different embossing folders to emboss the squares. Sometimes, I used different areas of the same embossing folder so you don’t even need that many folders. I mounted these squares on foam tape and then adhered them as evenly as possible on my card front. I had thought I could use my T-ruler, but with the foam tape, this was not really possible. In the end, I just spaced all 12 squares out on my card front and carefully adhered them in position. I used glue to adhere the Santa to the word Joy and then onto the card front. I used the “to the world” sentiment from the MFT stamp set Bitty Holiday Wishes and trimmed it down to fit over the”Y”.

Since I don’t have any bright green or red embellishments, I created my own by using different sized circle punches to cut out circles from red and green foil cardstock and covered those with glossy accents.
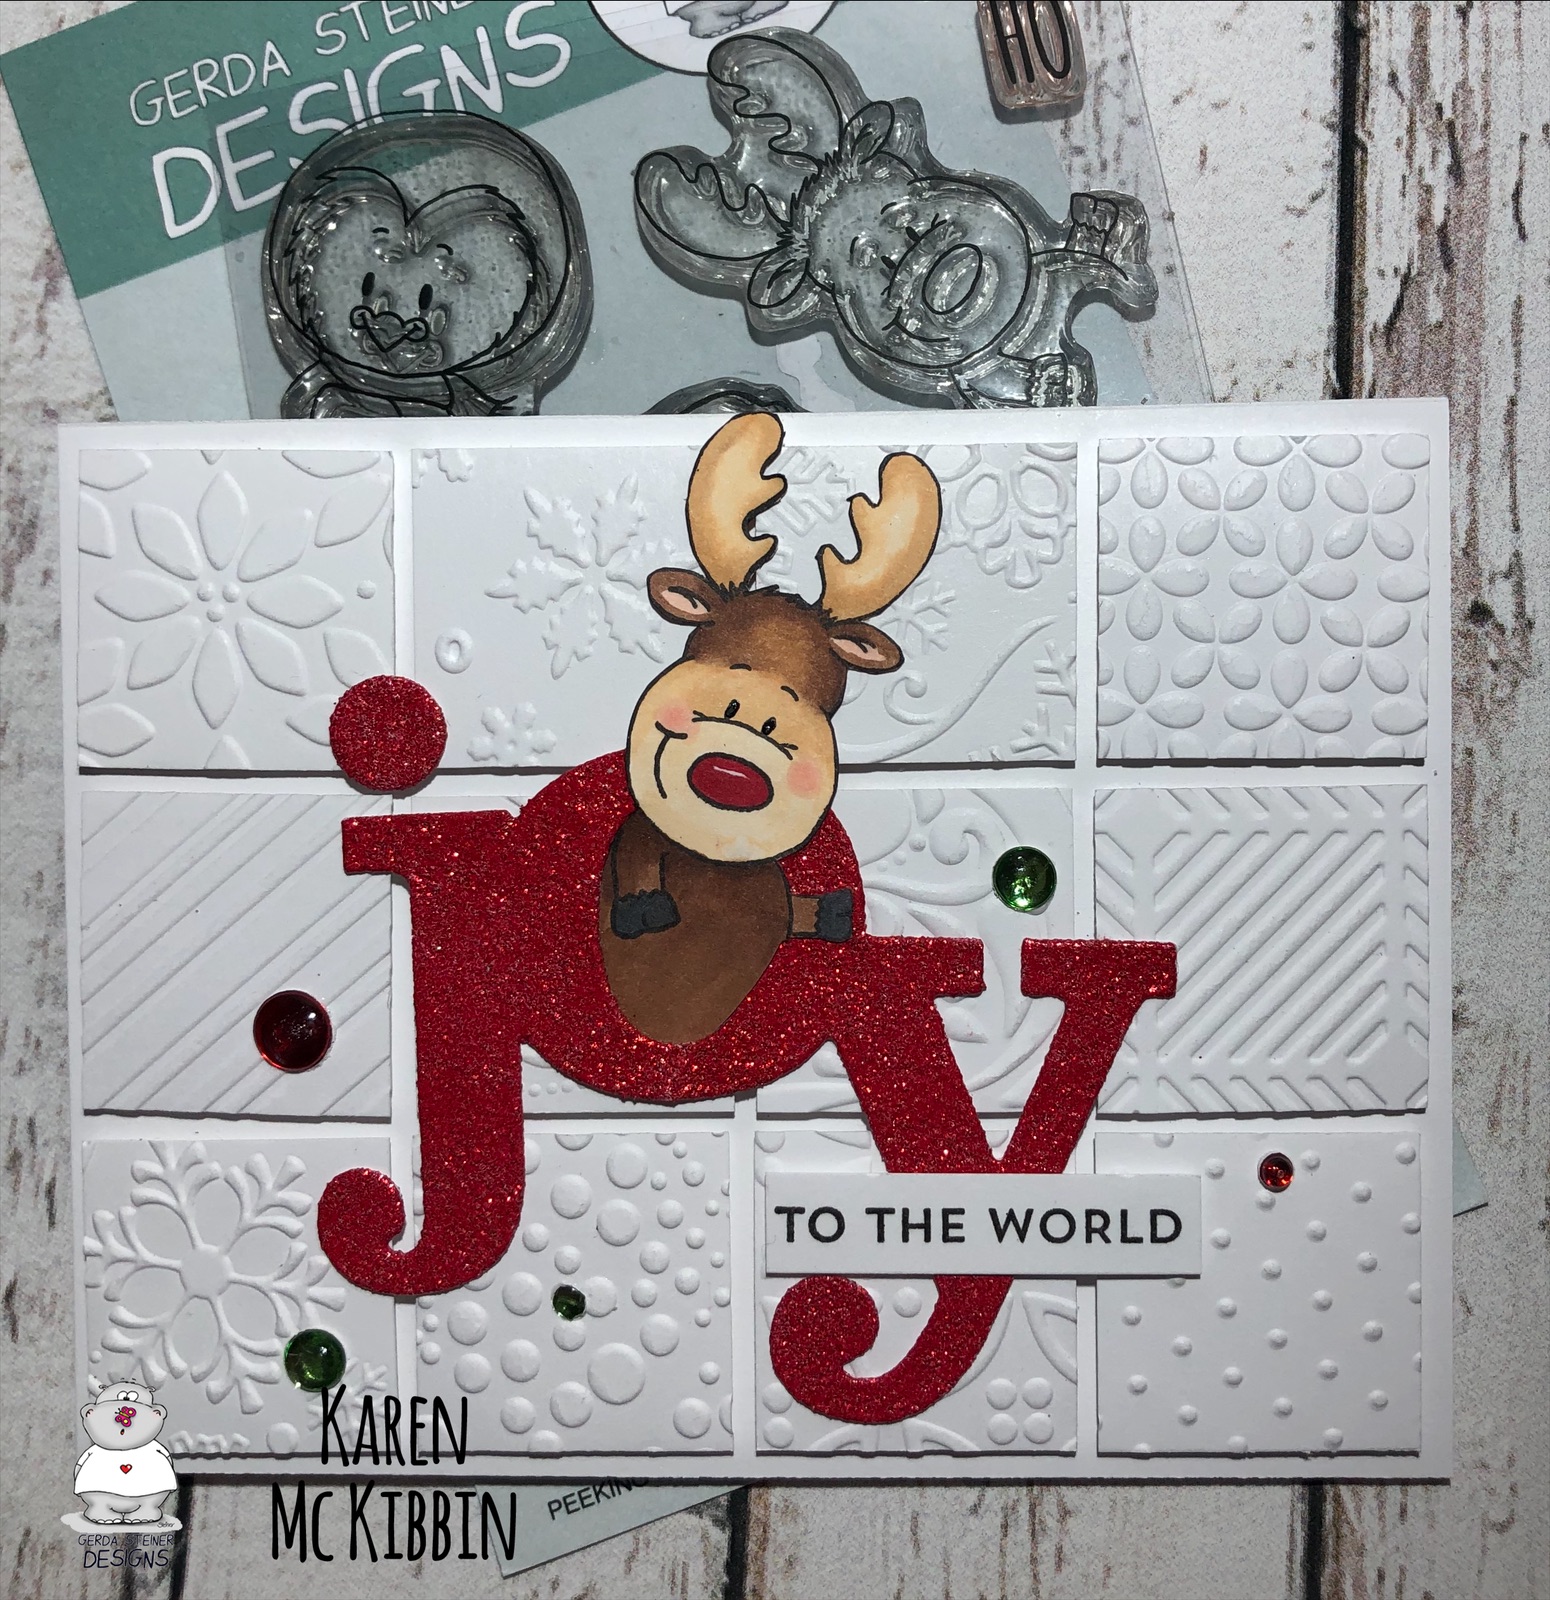
I made a second card with the reindeer image and cut the Joy out of red glitter cardstock. These cards have just got so much fun texture in them and I hope you’ll give this a try!
Copic markers used: E000, R00, R20, C0, C1, C2, N6, R39, R29, R35 for Santa. G94 for the word Joy.

I want to thank Dr Emu a very powerful spell caster who help me to bring my husband back to me, few month ago i have a serious problem with my husband, to the extend that he left the house, and he started dating another woman and he stayed with the woman, i tried all i can to bring him back, but all my effort was useless until the day my friend came to my house and i told her every thing that had happened between me and my husband, then she told me of a powerful spell caster who help her when she was in the same problem I then contact Dr Emu and told him every thing and he told me not to worry my self again that my husband will come back to me after he has cast a spell on him, i thought it was a joke, after he had finish casting the spell, he told me that he had just finish casting the spell, to my greatest surprise within 48 hours, my husband really came back begging me to forgive him, if you need his help you can contact him with via email: Emutemple@gmail.com or add him up on his whatsapp +2347012841542 is willing to help any body that need his help.
ReplyDelete