Showing posts with label Brush Bunny. Show all posts

Tuesday, March 9, 2021

Brush bunny - Happy easter - Larissa


Hi everyone, I am Larissa from Car-d-elicious and todaymy card will also be posted on the blog from Gerda Steiner designs and this time I have made a Clean and simple eastercard with the clearstamp set Brush bunny from Gerda Steiner designs. With the help of masking paper I have stamped the grass, bunny and eggs on a white card. On the bottom half of the card I have stamped the sentiment. I have applied masking tape above and below the image so I know where the borders for my image will be. I have coloured the image with my Polychromos pencils, the black glaze pen and a white gelpen. I have also coloured parts of the eggs with the Clear Spectrum noir sparkle glitter pen.


*********************************************************************************
COLORING MEDIUM: Polychromos pencils
PAPER: White cs
INK: Versafine clair nocturne
ACCESSORIES: Black glaze pen, White gelpen, Masking paper, Clear Spectrum noir glitter sparkle pen


I am a participant in the Gerda Steiner designs Affiliate Programme. This means that if you click on one of my links and subsequently make a purchase, I will receive a small commission of store credit, at no extra cost to you.

Wednesday, March 28, 2018

Brush bunny - Larissa


Hi everyone, I am Larissa from Car-d-elicious and today I am posting a little easter card and also a box that I posted on my own blog yesterday. :)


I created something with the stampset Brush bunny from Gerda Steiner designs. I used the stampset to make a little card. On the front of a white card I placed a piece of masking paper after I cut a hole in it with my circle dies. Then I stamped a couple of images from the stampset Brush bunny from Gerda Steiner designs inside the circles. I masked all those images and then I coloured the grass with Mowed lawn distress ink. I have used Tumbled glass and Broken china distress ink to colour the sky.


After I removed all masks I coloured all the images with my Polychromos pencils, the black glaze pen and a white gelpen. The sentiment from the stampset from Gerda Steiner designs unfortunately was a bit too big for this card. So I stamped a sentiment from the set Hoppy easter from Clearly besotted stamps on the card.


With the same stampset I made a little box that can hold about 20 chocolate eggs...yummy!


With a Gable box die I have die-cut the gable box from white cardstock. I decorated it before I glued it together. With the Mini cloud edges stencil from My favorite things and Tumbled glass distress ink I made some clouds on all sides of the box. Then I stamped a sentiment from the set Brush bunny from Gerda Steiner designs on the box. On white cardstock I stamped a couple of images from the stampset Brush bunny from Gerda Steiner designs. I stamped the grass in a line so I could adhered it on the bottom of the box after I had fussy cut it. I stamped a couple of eggs and doodled on them with a black pen. I have coloured all images with my Polychromos pencils, the black glaze pen and a white gelpen. I fussy cut all the images and adhered them on all sides of the box.


A look inside the box.


*********************************************************************************
CARD:
STAMP: Brush bunny from Gerda Steiner designs, Hoppy easter from Clearly besotted stamps
COLORING MEDIUM: Polychromos pencils, Distress inks
PAPER: White cs
INK: Versafine onyx black, Tumbled glass, Broken china and Mowed lawn distress ink
ACCESSORIES:Black glaze pen, white gelpen, Masking paper

BOX:
STAMP: Brush bunny from Gerda Steiner designs
COLORING MEDIUM: Polychromos pencils, Distress ink
PAPER: White cs
INK: Versafine onyx black. Tumbled glass distress ink
DIES: Box die
ACCESSORIES: Black glaze pen, Mini cloud edges stencil from My favorite things. black fineliner

Wednesday, August 10, 2016

Graffiti for you!!

Hi there!!

It's Yolanda here, from Scraping Time. As I told you in my last post, I made three cards with "Unicorns" stamps set that I will show you during these weeks. For this second try, (you can see the first one here) I decided to play a little bit with the funniest one hehehe or at least, it is for me!

The first time I saw him, I thought he was really angry but I looked at him again and I realised he was just shy!! That's why he wasn't able to tell his feelings to hir unicorn-girl and he decided to do a love graffiti on a wall!! Isn't it cute?? :))

He is trying to hide his brush before giving her that nice bunch of flowers.


I haven't got to tell you that I really love to tell stories with my cards although this is not based on a true story or who knows...

I have used a decorated paper for the wall and I stamped there the sentiment from the "Brush bunny" stamps set as well as the paint brush. The flowers from the Unicorn set are great to use with any critter. They are so delicated and pretty. I am sure that I will use them a lot for birthday cards or get well soon cards. I think they are proper for sympathy cards too.


I have fussy cut the unicorn and after colouring it with Spectrum Noir markers, I have put some Spectrum Noir Sparkle in some parts of the stamp. It is the first time I use it and I have to say it is very shiny and nice.


I hope you have enjoyed with my card and don´t forget Gerda Steiner Designs Instagram Giveaway!! (here) You are going to LOVE the prize: the two autumn new sets. I can tell you that they are ADORABLE!!  Good luck!!

Wednesday, May 4, 2016

Have a quacking good time!!

Hi there,

it's Yolanda here, from Scraping Time! I hope you had a great time these weeks! 
Today, I wanted to make a colourful card since spring has arrived and everything looks great around here!!
Since the first time I  saw the "Brush bunny stamp set" I knew I wanted to make a card like this, so I bought this easel die from Paper Smooches so that my bunny could paint anything!! 


I think that duck is having a cuack time!! ;)

Firstly, I die cut the easel and I painted my scene with some Peerless Watercolor, painting randomly the sea and with a water paint brush, the sun. I put some wink of stella clear on both before stamping, colouring, fussy cutting and adding the duck.


Then, I inked the clouds with Memento Blue Sky ink and I die cut a piece of cardstock that I inked with Lawn Fawn green ink.
At last, I stamped and coloured my bunny and added it to the scene.
I used a wood paper to stamp my sentiment with fine detail white embossing powder and added a yellow staple on it.


I love creating scenes in my cards and I enjoyed a lot making this! I hope you like it and see you soon!!

Monday, May 2, 2016

Stamped Critter Background

Hey everyone! It's Wiebke here! I'm a little late today, but excited as always to show you my card for this monday! :)


What about creating your own patterned background? It is so easy and fun to create! I stamped all of these cute critters and elements on a piece of watercolor paper (Versafine works very well with water). Then I looked for a few beautiful Distress Inks to color my elements. When you put several layers of water on each other, you'll get that messy watercolor look. I also splashed some waterdroplets on it plus some white ink splashes. A few lighter dots add more interest to your card! :)
Oh and I like to use black sentiments - specially on a colorful background! (there might be a comma  missing between "birthday" and "awesome"... )


The stamp sets, which I used: Just Sentiments, Happy Hoppy, Lucky Duck, How are Ewe

I hope you like it! Have a great day!


Tuesday, April 26, 2016

Love You Bunny

Hi there,

it's Tanja here today and I would like to show you that the super sweet bunnies from the Gerda Steiner Designs Happy Hoppy stamp set can be used all year long:

  • stamp one of the cute little bunnies from the Gerda Steiner Designs Happy Hoppy stamp set with Memento (Tuxedo Black) and color the image with Delta and Touch Twin Brush Markers
  • add highlights and details with a white gel pen
  • cut out a window from woodgrain paper and ink up the edges with Distress Ink (Frayed Burlap)
  • create a sky background on a piece of white cardstock using Distress Inks (Tumbled Glass, Broken China) and spritz it with Pearlized Water for extra shine and texture
  • cut out some tiny hearts from red glitter cardstock
  • stamp a woodgrain pattern directly onto a kraft cardbase and stamp the sentiment from the Gerda Steiner Designs Brush Bunny stamp set with Versafine (Vintage Sepia) - I stamped it three times with my MISTI for an extra dark print
  • round the bottom left corner with a 1'' corner rounder

I hope you got inspired.

Yours,


Monday, March 21, 2016

Happy Hoppy Easter

Hey everyone! It's Wiebke here and I wanted to share a card with you using the Brush Bunny and Happy Hoppy stamp set!


I stamped the bunnies on a piece of watercolor cardstock. I cut them into four pieces and colored them with the ZIG Clean Color Real Brushes. Each background got his own pastel color. At least, I embossed the sentiments on a piece of black cardstock. That way, they're the main focus in front of the bunny background.


Are your ready for easter?! :)
Have a great day!


Friday, March 18, 2016

Hoppy Spring Art Journal Page


Aloha Guys!  This is Joyce from http://enjoyscrappin2.com and today I have this whimsical Art journal page for you.  When I saw this adorable bunny holding a paintbrush, I knew I wanted to create a journal page.  This video is slightly longer than my usual because there was a lot of steps but I hope you enjoy the process.  I'll see you back soon.  Thanks :)

Wednesday, March 9, 2016

Happy bunny-birthday!

Hi there!

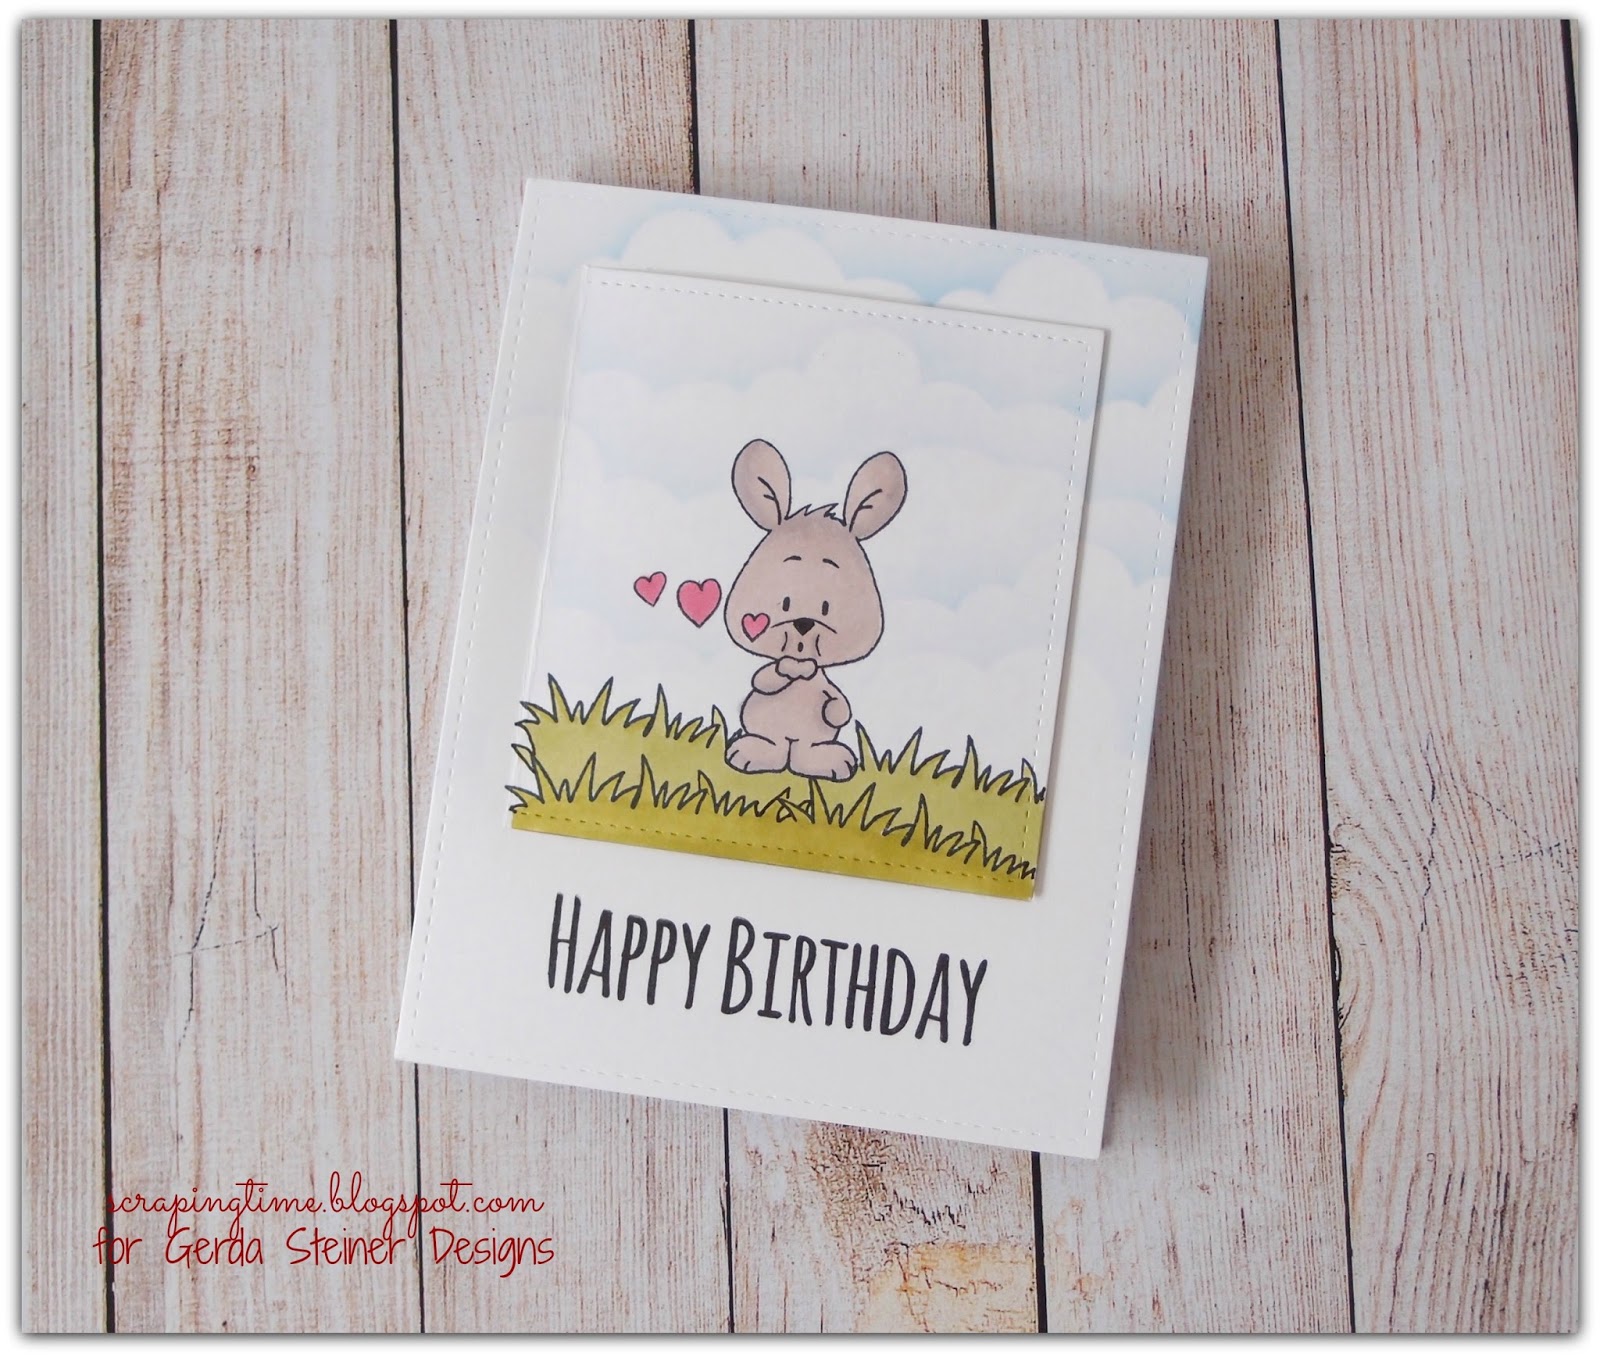
It's Yolanda here, from Scraping Time. Today, I have made a card with some stamps from different sets: "Just sentiments", "Howl are you, puppy?", "Happy hoppy 4x6 bunny" and  "Brush bunny" stamp sets.

All these stamps can be combined easily and I really had fun playing whit these cutties!


I really love these sets and I wasn't able to choose just one so I decided to play a little bit with my dies and make a window on the main panel of the card. I  used a false stitched square die and I did partial die cutting with my Big Shot. Then I stamped and created the first part of the scene. 
The sentiment is so cute and I love how it looks stamped with Versafine ink.
I made some clouds with Memento Blue Sky ink before making the window and I coloured my image with Spectrum Noir Markers. I love the hearts stamp!!!!!! What a cute complement for this set!!!! 


But then, when you open the window, you find the second part of the card and sentiment.


The "to youuuuuuuuuuuuu!!!" sentiment was a bit long for the space I had so I masked a part and stamped just some of the "u".

I tried to continue the scene inside, so I made the same clouds. And I added a carrot to the balloon... just for fun!! :))


I  think, you can use this card to put a gift card hidden into the window or making there a shaker. Your creativity is the limit! ;) 

I hope you have enjoyed with my card and have a good week! See you soon! 

Thursday, March 3, 2016

Watercolor Easter Eggs


Hello crafty friends! It's Jess from JessCrafts.com and today I'm sharing a bright fun card with the new Brush Bunny clear stamp set. I wanted to create a fun watercolor look on the eggs. For more on this card check out my video.


Remember to share your creations with us over in our Facebook group and join in on the Progressive Challenge each month if you love Gerda Steiner's digi stamps!


Thursday, February 25, 2016

Video: Distressed Mini Card

Hello my friends!! This is Emily Cupely and for today's video I made a little Easter card where I used my Distress Inks to create a distressed and masculine look. For the images I used the adorable stamp set called Brush Bunny. Enjoy the video tutorial below! :)


http://gsd-stamps.com/collections/shop-clearstamps/products/gsd462-brush-bunny-clear-stamps-set

Wednesday, February 24, 2016

Happy Easter

Hi there!
it's Yolanda here, from Scraping Time. I am so happy to show you the card I have made with the sweet new stamps set "Brush bunny".
When I first saw it in Instagram I thought it was amazing but when I reveived it at home I hadn´t words to describe it! It´s a beauty!!!!!!!


I thought it was a good idea to make a "Happy Easter" card since I am sure I will use the love sentiments later a lot! These sentiments are amazing. When you stamp them on the card, you can´t believe it is a stamp since they seem to be printed!! Stunning!


I did some paper piecing since it is one of my favourite techniques! I also did some masking to stamp the three eggs and the grass behind the cute bunny!


I wanted to make a sweet card and I decided to combine the scene with decorated papers. I chose this light pink one for the panel and also for the cloud where I stamped the sentiment. I coloured the bunny with spectrum noir markers.
I put some Wink of Stella Clear on the brush, ear and some parts of the grass to give it some light shine. Sorry, I didn´t catch it in  the picture!


I hope you enjoy the card and see you soon with more projects.

Wednesday, February 17, 2016

Easter Bunny

Hello there, Michelle here and I am back with my second Guest Design post for Gerda Steiner Designs. Today I am combining the Happy Hoppy and Brush Bunny sets for an Easter card.
 

I started off by taking die cut tag and stamping the bunny from the Happy Hoppy set on to it. I then masked him off (using mask paper) and stamped the grass. These were then coloured in using Copic Markers. I took a white A2 card base and added a layer of yellow patterned paper to it and then added the bunny tag with foam tape on top. I also added some twine through the top of the tag and some enamel dots for more interest.
 

For the inside of the card, I took a grass die and cut this from patterned paper twice. These were added to the bottom of a panel of cardstock. I then stamped the Easter egg from the Brush Bunny set twice; once on to yellow paper and then on to pink paper. These were cut out and then popped in to the grass.
 

To finish off, I stamped the sentiment, also from the Brush Bunny set, using black ink. The panel was then adhered to the inside of the card.
 
A big thank you goes to Gerda Steiner Designs and the DT for having me Guest Design with them. Thank you so much for visiting today, I hope you have a great day!