Friday, February 9, 2024

YOU ARE KOALAFIED...

Hello dear craft friends, 
Today I'd like to introduce you to another little inspiration with the YOU ARE KOALAFIED stamp set.


I have again included the materials I used in the illustrated instructions in the picture.

First I designed the background with the stencil from the M4Y and the DistressOxide Inks. As a special feature I used a texture paste that looks broken for the coffee beans.


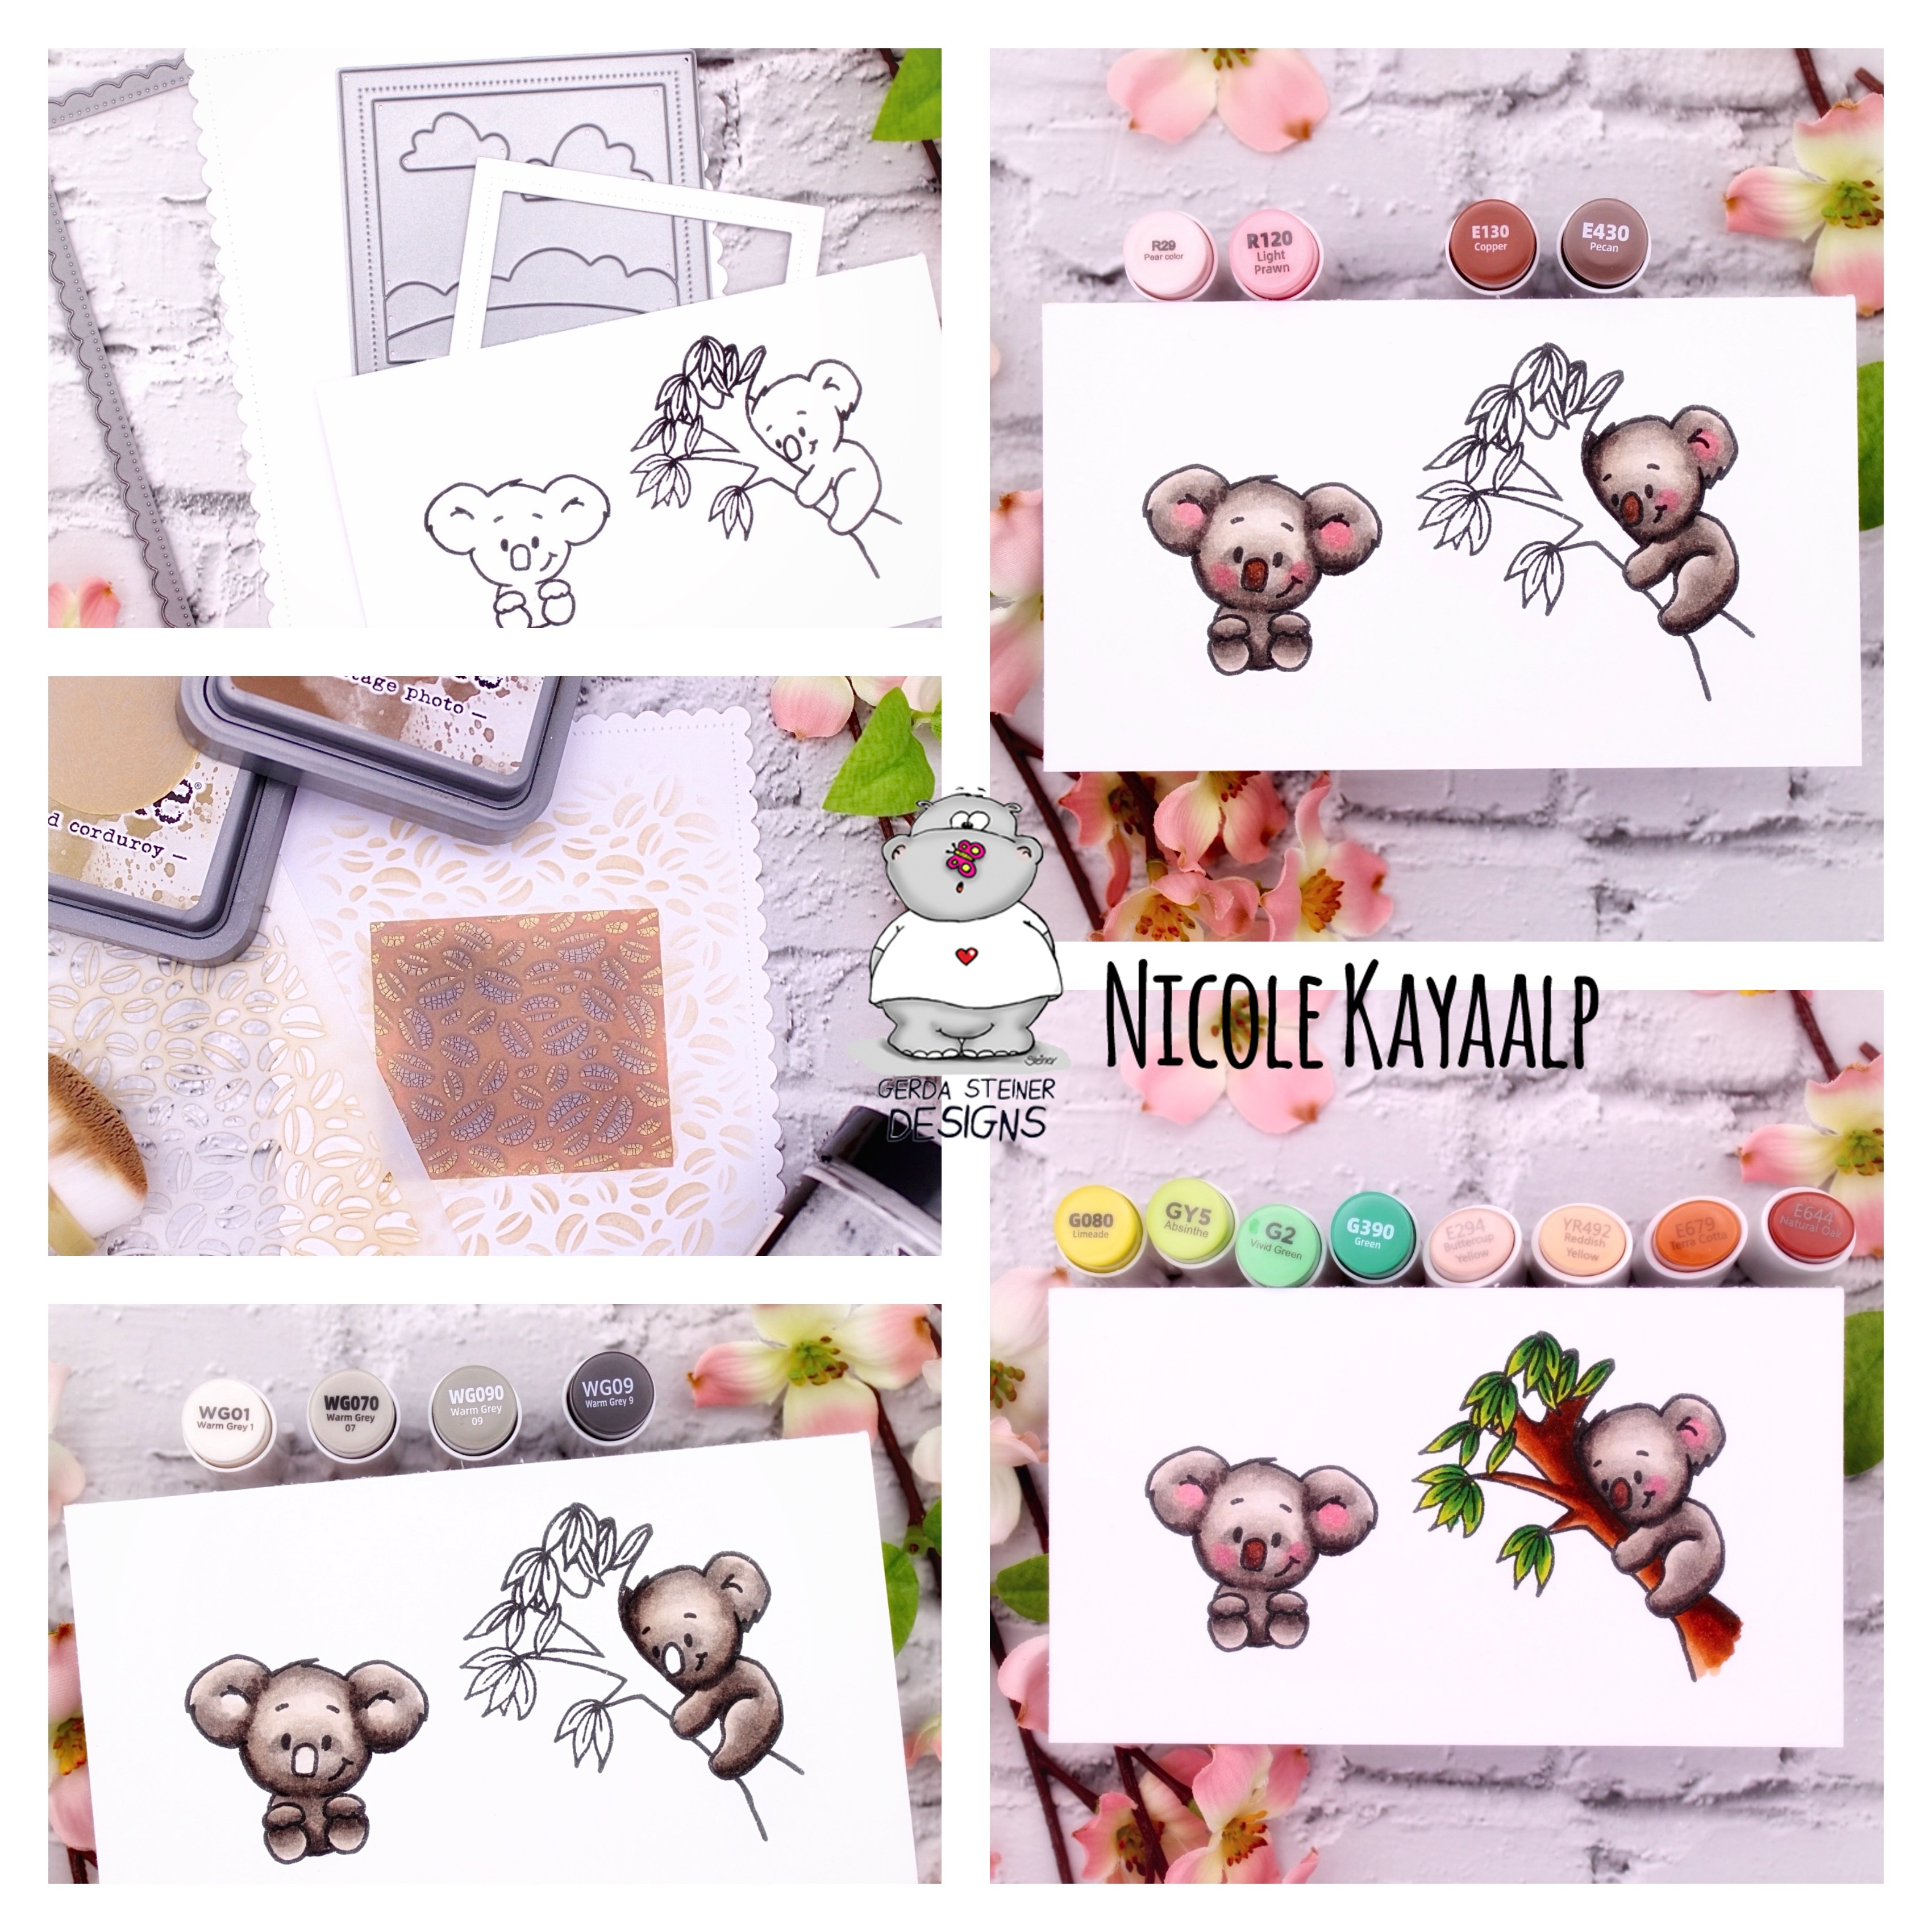
Then I colored the koala and leave you my combination of markers from OHUHart in the picture.

I carefully applied the smaller shades again with a polychromo pencil.

I always use a white gel pen to accentuate the light spots.

The Polaroid punch is from AveryEll "Photo Mat"
The frame punch is from Create a Smile.


I particularly like coffee cards. I'm a coffee junkie and of course I like it with a piece of chocolate.

In contrast to my gaudy cards, this is a quieter version of my cards.


What is your favorite way to relax?


Have a nice creative time and I hope you enjoyed my post.
If you have any questions or suggestions, I'm always here for you.

Creative greetings
Nicole alias Stempelfiziert


Wednesday, February 7, 2024

Monster love


Hi everyone! 
 I'm here today to share a little Valentine's day inspiration.  Or maybe just a card to share a little love.

For today's card, I started by stamping this cute monster from "Be Mine Monster" on watercolor paper.  Then I used my favorite coloring medium, Derwent Inktense pencils, and a water brush to color in the image.  These pencils are a bit tricky to get used to but the colors are amazing (kind of like bold watercolors).  Inktense pencils are ink based, permanent color.  You must work quickly with these, or you'll end with spots that won't blend in.  For this monster, I colored along the edges of the monster and heart (dry coloring).  Then I used the water brush to wet the center of the heart and monster where there was no color, moving towards the outer, colored edge.  Once the colored edge was wet, I was able to move the color slightly back towards the center, leaving a darker edge and a lighter center.  After the monster dried, I cut the image using a stitched, rectangle die.

I cut a scalloped edge matt, tag and tiny heart from the same dark grey cardstock.  I darkened the edges around the tag and heart for a little depth.  I've found glue and a heavy book to work nicely to flatten watercolor paper when the paper gets a bit "wrinkled" from all the water usage.  Once dry, I added a couple silver gems just to add a little shine.  I choice not to add a sentiment to this card, making it usable for Valentine's Day or just because.

I hope you feel some inspiration with this monster.  Thank you for reading and have fun spreading the love.


Monday, February 5, 2024

You Are So Loved!

 Hello crafty friends!   It's Bev Gerard, back to share a fun valentine featuring the Li'l Hedgie stamp from Gerda Steiner Designs.

I wanted to tweak the basic card sketch without distracting much from the many polka dots and the darling little hedgie.  So I trimmed the lower edge of the top two paper layers with a simple curved stitched border die.  Tip: To keep the layers completely aligned, use a removable adhesive tape such as Post-It tape or washi tape to run both layers through machine at one time.  If needed, you can re-run the lower piece if needed for a clean cut on that layer.  And yes, there are a few random dots that are adorned with pink glitter ... just because.  


The sentiment was stamped with VersaFine Clair Morning Mist, as I chose not to have a black ink overwhelm the softer look of the hedgie.  Once the sentiment was stamped, I used a circle die to partially cut both ends of the 3/4" strip.  Finally, I cut 3 more strips and stacked them all with glue to add a little dimension.  Edges were brushed with DOX Worn Lipstick as were the other paper edges.

Finally, the darling Li'l Hedgie is popped up on an action wobble for a sweet & fun giggle!

Thanks so much for visiting!  

Bev Gerard

Beverly on Instagram:  texasgrammy
Beverly's SCS Gallery:  TexasGrammy at Splitcoaststampers